02Sep

Harness Transformation: Trending Hatha Yoga Teacher Training in Goa with Adiyogam

Want to know the one thing that every successful digital marketer does first to ensure they get the biggest return on their marketing budget? It’s simple: goal-setting. This is an absolutely essential practice for any digital marketer who knows how to execute their campaigns in a productive, cost-effective way. With a few. With a few simple tips, you can be doing the same in no time! In this blog, we’ll walk you through the first steps every savvy digital marketer takes to ensure that they’re on target to hit all their marketing objectives. Get ready for revenue! 

Remember: even if the channel you’re considering is all the rage right now, it might not fit your brand. Always make informed decisions that directly relate to your company. Otherwise, your message won’t be delivered to its intended audience and you’ll have wasted time, effort and money.

Know Your Digital Goals

The first step is clearly identifying which goals you want to achieve. Get specific. Do you want to increase brand awareness? Are you all about locking in leads? Do you want to establish a strong network of influencers that can help you be discovered? How about pushing engagement on social media?

Get Specific

A useful tool for narrowing down your goals to ensure they’re viable is the SMART mnemonic. It’s important to get specific to understand exactly what you’re working towards, and help you break down the process of hitting your targets. This is exactly what this mnemonic helps you to achieve.

  • Does the channel reach my intended audience?
  • Is the channel sustainable and affordable within my company’s marketing budget?
  • Will I be able to measure the success of the channel?
  • Does the channel allow me to express my brand’s intended message?
  • Do the channels I’m considering work together to convey my message?

Always Remember Your Goals!

Establishing a solid vision for your business is the first step to planning your digital marketing budget. Always keep your final goals in sight when organising anything for your company. When deciding which steps to take next in your business, ask yourself how they will help you achieve the goals you outlined in Step #1. This will ensure that you stay on track and prevent you from spending your budget on anything that won’t help you achieve.

Cum et essent similique. Inani propriae menandri sed in. Pericula expetendis has no,
quo populo forensibus contentiones et, nibh error in per.

Denis Robinson

As your budget progresses and evolves, continue referring to your SMART objectives. Stay focused and remember your goals – they will always inform what your next step will be!

02Sep

Embark on a Transformative Journey: Yoga Training in Goa with Adiyogam

Want to know the one thing that every successful digital marketer does first to ensure they get the biggest return on their marketing budget? It’s simple: goal-setting. This is an absolutely essential practice for any digital marketer who knows how to execute their campaigns in a productive, cost-effective way. With a few. With a few simple tips, you can be doing the same in no time! In this blog, we’ll walk you through the first steps every savvy digital marketer takes to ensure that they’re on target to hit all their marketing objectives. Get ready for revenue! 

Remember: even if the channel you’re considering is all the rage right now, it might not fit your brand. Always make informed decisions that directly relate to your company. Otherwise, your message won’t be delivered to its intended audience and you’ll have wasted time, effort and money.

Know Your Digital Goals

The first step is clearly identifying which goals you want to achieve. Get specific. Do you want to increase brand awareness? Are you all about locking in leads? Do you want to establish a strong network of influencers that can help you be discovered? How about pushing engagement on social media?

Get Specific

A useful tool for narrowing down your goals to ensure they’re viable is the SMART mnemonic. It’s important to get specific to understand exactly what you’re working towards, and help you break down the process of hitting your targets. This is exactly what this mnemonic helps you to achieve.

  • Does the channel reach my intended audience?
  • Is the channel sustainable and affordable within my company’s marketing budget?
  • Will I be able to measure the success of the channel?
  • Does the channel allow me to express my brand’s intended message?
  • Do the channels I’m considering work together to convey my message?

Always Remember Your Goals!

Establishing a solid vision for your business is the first step to planning your digital marketing budget. Always keep your final goals in sight when organising anything for your company. When deciding which steps to take next in your business, ask yourself how they will help you achieve the goals you outlined in Step #1. This will ensure that you stay on track and prevent you from spending your budget on anything that won’t help you achieve.

Cum et essent similique. Inani propriae menandri sed in. Pericula expetendis has no,
quo populo forensibus contentiones et, nibh error in per.

Denis Robinson

As your budget progresses and evolves, continue referring to your SMART objectives. Stay focused and remember your goals – they will always inform what your next step will be!

23May

Standing yoga poses and their benefits

1. Standing Yoga pose Utkatasana(Chair Pose)

Meaning: 

standing yoga pose utkatasana

The first standing yoga pose name comes from the Sanskrit, utkata, meaning “intense” or “powerful,” and asana, meaning “posture.” The common English name for utkatasana is chair pose. It is also sometimes called as fierce or powerful pose.

Steps with breathing:

  1. Stand erect in taadasana keep the feet together. 
  2. With a deep breath in, lift the arms above the head. The arms can either be kept facing each other with palms joined or they can be kept parallel to each other.
  3. Exhale; bend from your waist 30 degree forward. With further exhalation bend your knees, push your hip back as if you are sitting on a chair and gaze in front.
  4. Maintain the pose from 30 seconds to 1 minute. With inhalation, release the pose by straightening the knees. With further inhalation bring the arms to the sides of the body and stand in shithala taadasana.

Adjustments:

  1. Biceps close to ears.
  2. Knees should not cross over your toes.
  3. Inner thighs parallel to each other.
  4. Draw the tail bone and belly in.

Benefits:

1. The muscles of the thighs, knees, calves and ankles get toned.
2. Strengthens the muscles of torso and the lower back.
3. Reduces symptoms of Flat feet.
4. Stimulates the heart, diaphragm and abdominal muscles.

Contra Indications:

This asana should not be performed if one suffers from chronic knee pain, arthritis, sprained ankles, damaged ligaments, headache or insomnia.

Variations:

1. Interlace the fingers and after coming in the chair pose, lift the heels off the floor.
2. Parivrtta Utkatasana (Revolved Chair Pose).

2. Padahastasana (Standing forward fold)

Meaning:

Second standing Yoga pose in sanskrit pada means feet, hasta means hand and asana means pose. Since this asana is demonstrated by touching the feet with hands it is known as pada hasatasana and in English it is called hands to feet pose.

Steps with breathing:

  1. Feet together, stand straight with hands by your side and shoulders rolled back.
  2. Inhale; raise the hands over the head with palms facing each other.
  3. Now turn the palms forward, with exhalation, slowly draw the belly in and bend the body from the waist line and bend downwards bringing the hands beneath the feet or beside the feet.
  4. Keep the legs straight and knees soften.
  5. Keep the forehead between the knees.
  6. Hold the pose for 30 seconds to 1 minute.
  7. With inhalation look up release the palms and with further inhalation, raise up the hands and as you exhale bring hands down and relax in shithala taadasana.

Adjustments:

  1. Practice with your arms straight over your head and palms facing forward out in front.
  2. Bend from your waist line and try not to hunch your back. 
  3. Shift your weight towards the ball of your feet to keep your knees safe. If feeling unsteady you can slightly bend your knees.
  4. It’s important to bring your palms beneath the feet or beside the feet if not able to place them then you can place it on the ankles or shin bone.
  5. Keep the forehead between the knees and try to keep your knees straight.
  6. Practice with your feet together but if you’re feeling unsteady, try stepping your feet hip-width apart.

Variations:

  1. Keeping the palms beside the feet.
  2. Catch hold of big toes (padangustasna.)
  3. Catch hold of calf muscles or ankles.

Benefits:

  1. Eliminates the excess fat around the abdomen and thighs.
  2.  Purifies and strengthens the sushumna nadi.
  3.  Prevents constipation and relieves stomach ache.
  4. Massages the entire abdominal organs and tones the liver, spleen and the kidney.

Contraindications: 

Forward bending is strictly prohibited for people with severe lower back problems, high blood pressure, any heart diseases and hernia.

3. Prasarita padottanasana(wide legged forward bend)

Meaning: 

Third standing yoga pose name comes from the Sanskrit words prasarita meaning stretched out, pada meaning foot, uttana meaning intense stretch and asana meaning posture. Prasarita padottanasana is commonly referred to as wide-legged forward bend in English.

Steps with breathing:

  1. Stand in taadasana
  2.  Step or slightly stretch your legs apart 4-5 feet.
  3.  Hands on waist, lengthen your spine and press the outer edges of your feet and ball of the big toes firmly into the floor. Inhale; lift your chest, making the front torso slightly longer.
  4.  As you Exhale, maintaining the length of the torso, lean the torso forward from the hip joints.
  5.  Once the torso becomes parallel to the mat bring your hands in line with the shoulders on the floor and keep the torso lengthened.  
  6.  Inhale and raise the head up creating a concave curve in the spine
  7. Exhale and walk your fingertips between your feet, bend the elbows and lower your torso and head into a full forward bend. Or rest the crown of the head on the floor.
  8. Stay in this pose for 30 seconds to 1 minute in normal breath.
  9.  Inhale, raise the head from the floor and straighten the elbows. Keeping the torso straight 
    exhale and stand as in position 2.
  10. Slowly bring the legs together and relax in shithala taadasana.

Adjustments:

  1. After widening the feet, both the toes should be pointing forward.
  2. Make sure your inner feet are parallel to each other.
  3. While bending forward lean from waist not from upper back.
  4. While inhaling try to make the back concave.
  5. Once the torso is parallel, place the palms in line with the shoulder.
  6. In the final posture, elbows are bent and pressing the palms on the floor between the feet.

Variations:

  1. Elbows on the ground.
  2. Catch hold of the big toes.
  3. Interlacing the fingers behind the back.

Benefits:

  1. Reduces excess fat in the legs, upper back and waist region.
  2. Intense stretches for the hamstrings and abductor muscles.
  3. It tones the abdominal organs.
  4. Mooladhara, Swadhistana, Manipura Chakras are enhanced.

Contraindications:

 People with acute back pain, high blood pressure, vertigo and cervical spondylosis should avoid this pose.

4. Yoga pose Parswa konasana(Side angle pose)

Meaning: 

 Fourth standing Yoga pose in Sanskrit, Parswa means side, Kona is an angle and asana means posture. In English it is called as Extended lateral angle pose.

Steps with breathing:

  1. Stand in taadasana hands on the waist. Inhale feet apart by 3/4 feet or as much comfortable, point the right foot towards right side.
  2. While firming the left heel on the floor exhale and bend your right knee until right thigh is parallel to the floor and make sure knee doesn’t cross the toes. 
  3. With inhalation bring the arms parallel to the floor, palms facing downward and gaze at the right middle finger. 
  4. While lengthening the entire left side of your body with further exhalation bring the right torso on right thigh and place right hand’s finger tips beside the right foot touching the floor and stretch the left arm over the head and gaze at the left hand’s finger tips.
  5. Remain in this position from half a minute to a minute, breathing deeply and evenly. Inhale and extend the arms parallel to the floor, straighten the knee and exhale back in shithala taadasana.

Adjustments: 

  1. Front knee should not cross the toes and make the 90 degree angle.
  2. Thigh should be parallel to the floor.
  3.  Front heel should be in line with heel behind or it can be in line with the centre of the behind foot.
  4. Weight of the body should be evenly distributed on both the legs.

Variations:

1. Placing the elbow on the bent knee in case the extended hand’s palm is not reaching the ground.
2. Placing the extended hand’s palm in front of the bended leg’s foot and extend the other hand towards the ceiling.

Benefits: 

  1. Relieves the stiffness in the back and shoulders. 
  2. Strengthens and tones up the ankles, knees and thighs.
  3. Reduces the fat around the waist and relieves the sciatica and arthritis pain. 
  4. It also increases peristaltic activity and aids elimination.

Contraindications:  

This asana is strictly prohibited for people with injury of knees, hips, spine, shoulders and ankles, High/ low blood pressure, Diarrhoea

5. Yoga pose Virabhadrasana Dwe (Warrior B)

Meaning: 

Fifth standing yoga pose Sanskrit Vira means warrior, bhadra means ferocious or fearsome and asana means pose. According to Hindu mythology lord Shiva created the ferocious warrior named Veerbhadra and set him out to destroy evil powers. In English it is called as the Warrior pose.

Steps with Breathing:

  1. Stand in taadasana, feet together and hands on the waist.
  2. Take a deep inhalation and with a jump spread the legs apart sideways 4 to 4 half feet. 
  3. Turn the right foot right side and keeping the left heel firmly on the ground and leg stretched out completely.
  4. With inhalation, raise the arms in line with the shoulder, palms facing down. 
  5. Exhale and bend the right knee tilt the right thigh parallel to the floor, right knee perpendicular to the floor, thus forming a right angle between the right thigh and right calf and gaze at the right middle finger.
  6. Stay in the pose from 30 seconds to 1 minute with deep breathing. Inhale and come up. Turn the left foot and continue on the left side. 
  7. After completing on both the sides relax in shithala taadasana.

Adjustments: 

  1. Front knee should not cross the toes and make the 90 degree angle.
  2. Thigh should be parallel to the floor.
  3. Arms should be in line with the shoulders, away from the ears.
  4. Core should be engaged.
  5. Front heel should be in line with heel behind or it can be in line with the centre of the behind foot.
  6. Weight of the body should be evenly distributed on both the legs.

Variations:

  1. Bend the legs first and then extend the arms.
  2. Extend the arms first and then bend the knees.
  3. Only bending of the legs, with hands on the waist. ( in case of pain in hands and shoulders)

Benefits: 

  1. Stretches the chest, lungs and shoulders.
  2. Strengthens ankles, knees and thighs.
  3. Stimulates the abdominal organs.
  4. Develops balance and stability.

Contraindications:

This asana is strictly prohibited for the people with injuries in the knees, hips, spine, shoulders and ankles, High blood pressure, 3.  Diarrhoea.

YOGA FLOW USING ABOVE 5 STANDING YOGA POSE

29Sep

7 Compelling Reasons Why Goa is the Ideal Destination for Yoga Teacher Training

If you are a lover of serenity and spirituality, there is a place named Goa, which is located on the western coast of India, it is a land that calls out to both yoga enthusiasts and those in search of spiritual fulfillment.

This sun-drenched paradise is adorned with amazing beaches, gently swaying palm trees and an atmosphere that will make you feel profound peace.

It is not merely a haven for tourists but also a sacred sanctuary for those seeking yoga teacher training in Goa, India.

Let’s look at factors that make Goa, the ultimate destination for embarking on a transformative and heartwarming yoga journey

Here are the Top 7 Compelling Reasons ! 

7. Cocktail of Cultures and Colors

In Goa, a vibrant tapestry of cultures unfolds you will find seamlessly blending the rich heritage of India with the colonial influence of Portugal. This one-of-a-kind fusion results in a remarkable diversity that permeates every facet of life in Goa.

As the golden rays of the sun caress the sandy shores, you can witness the harmonious coexistence of various traditions, languages, and rituals – a mesmerizing dance of unity and diversity.

This unique amalgamation of cultures creates an atmosphere where yoga transcends the limitations of nations, bringing together seekers from all corners of the globe.

6. An Emotional journey into Self-Discovery

As you enter Goa, you are transported into a world filled with emotions – the laughter of joyous travelers, the reflective silence of yogis in meditation, and the symphony of crashing waves resonating with the rhythm of your soul.

Goa’s magnetic charm lies in its capacity to evoke emotions, igniting a spark of self-discovery in every visitor. Amidst the bustling markets, the tantalizing aroma of spices, and the heartfelt hospitality of the locals, you will find yourself embarking on an emotional journey that unravels the depths of your existence.

5. The Serenity of Nature

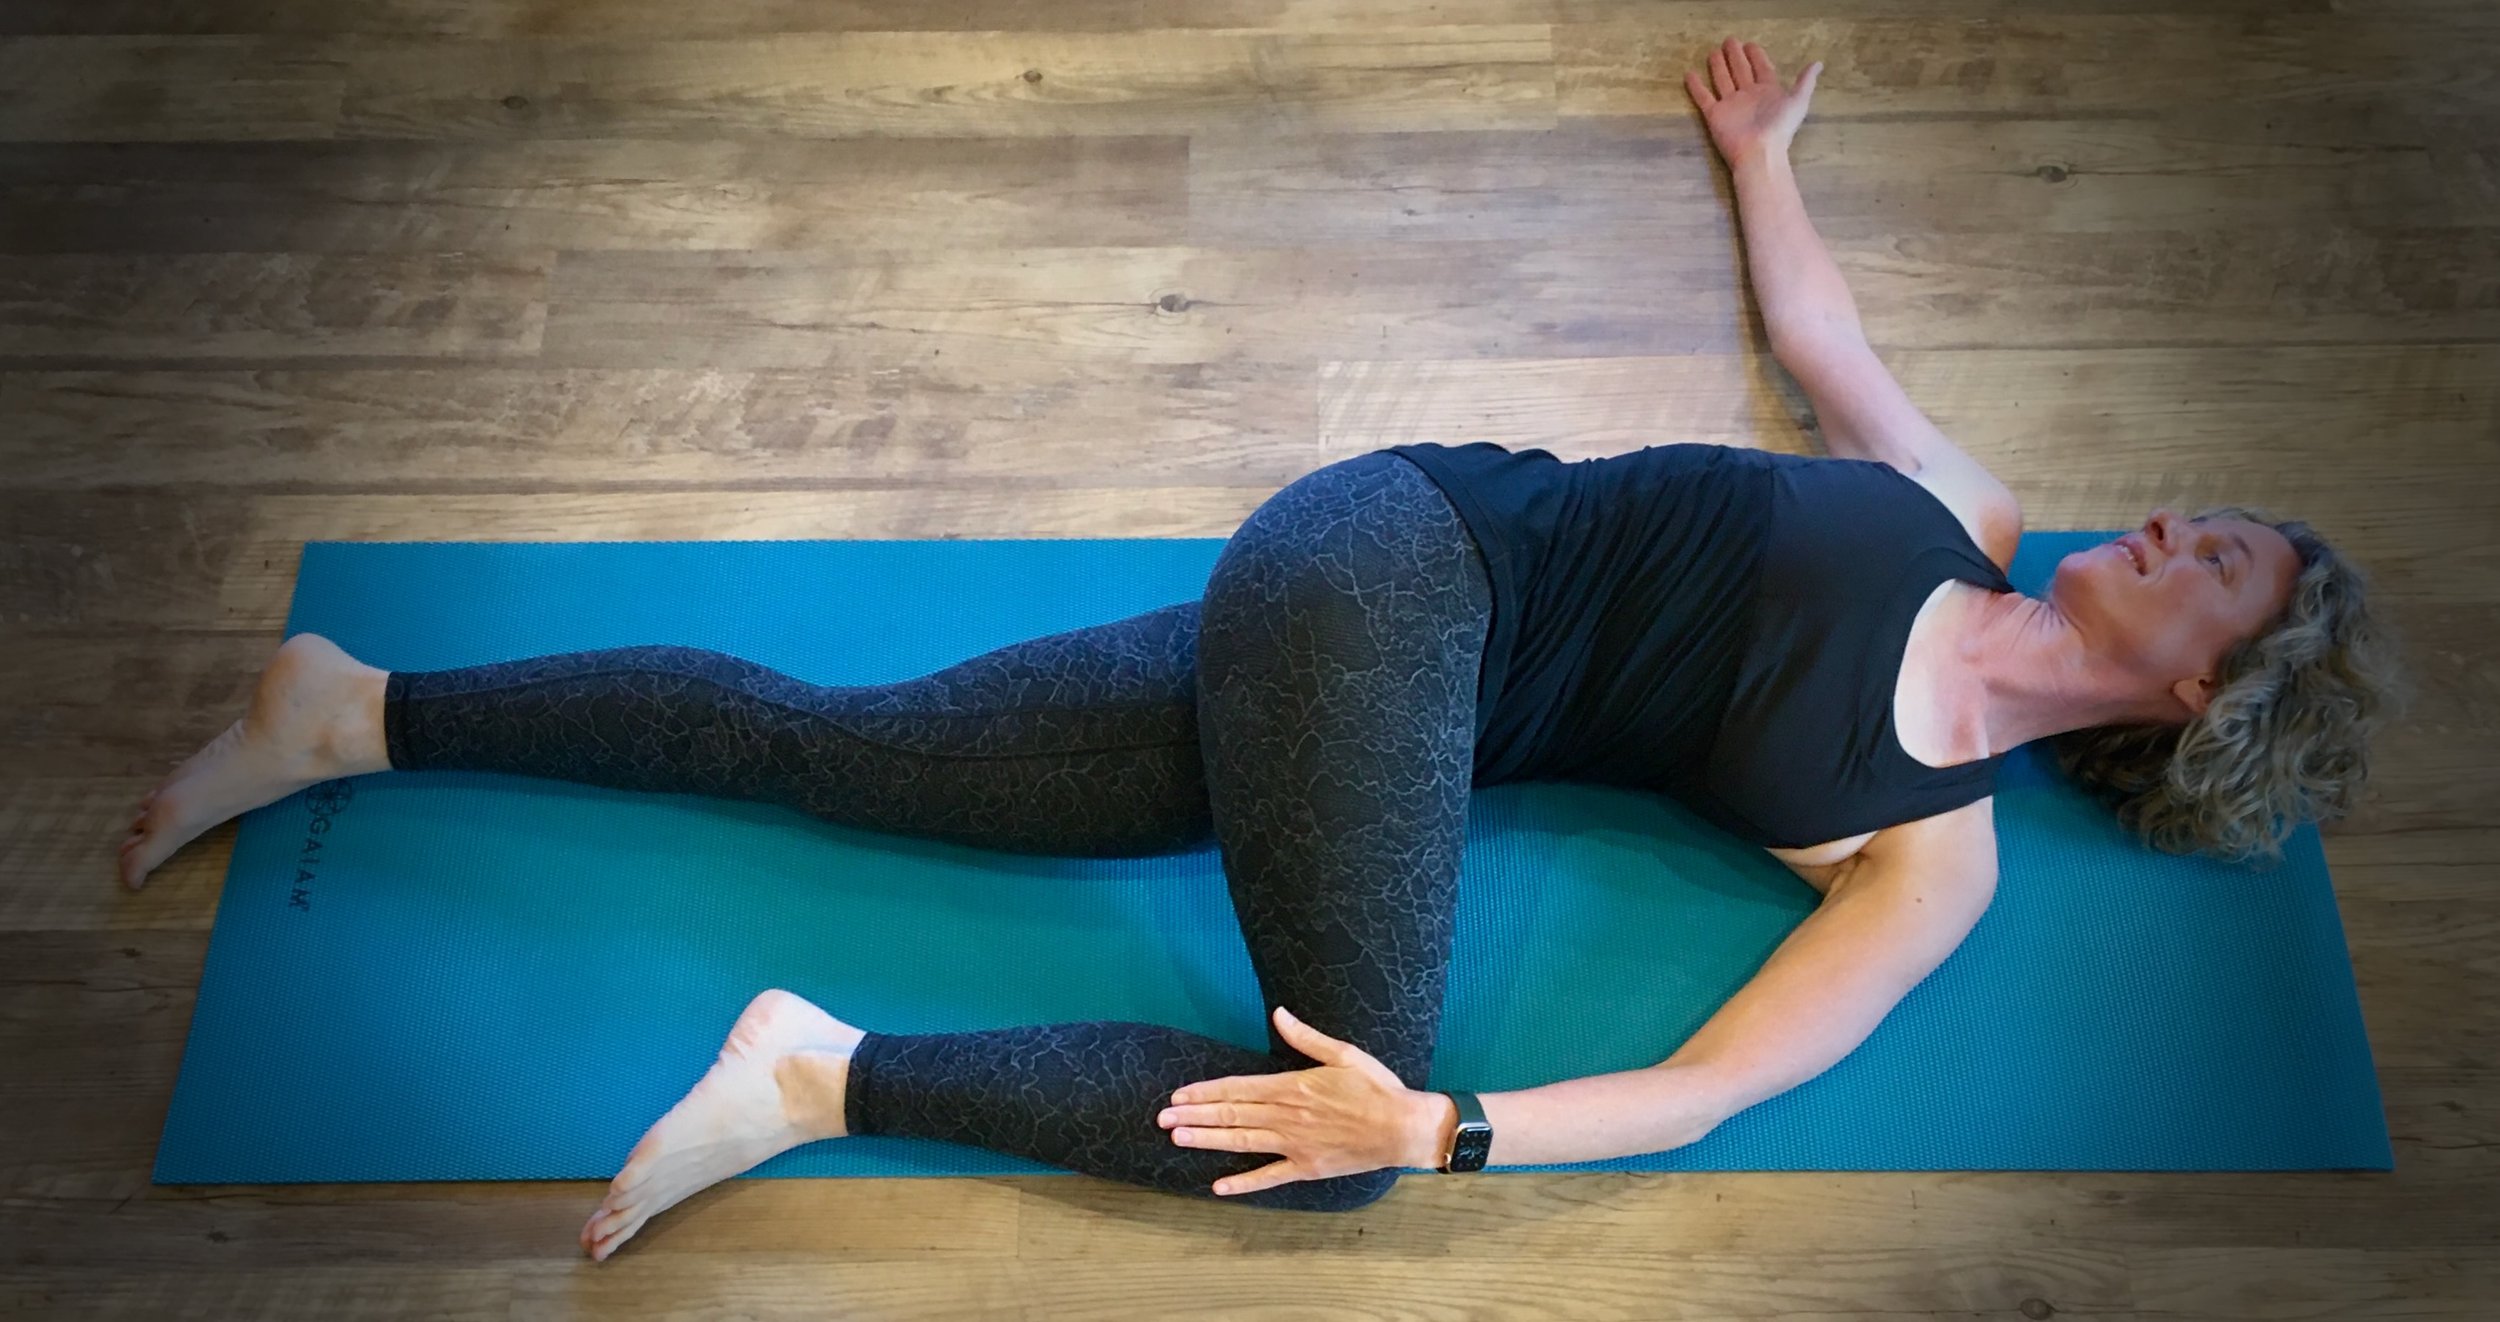
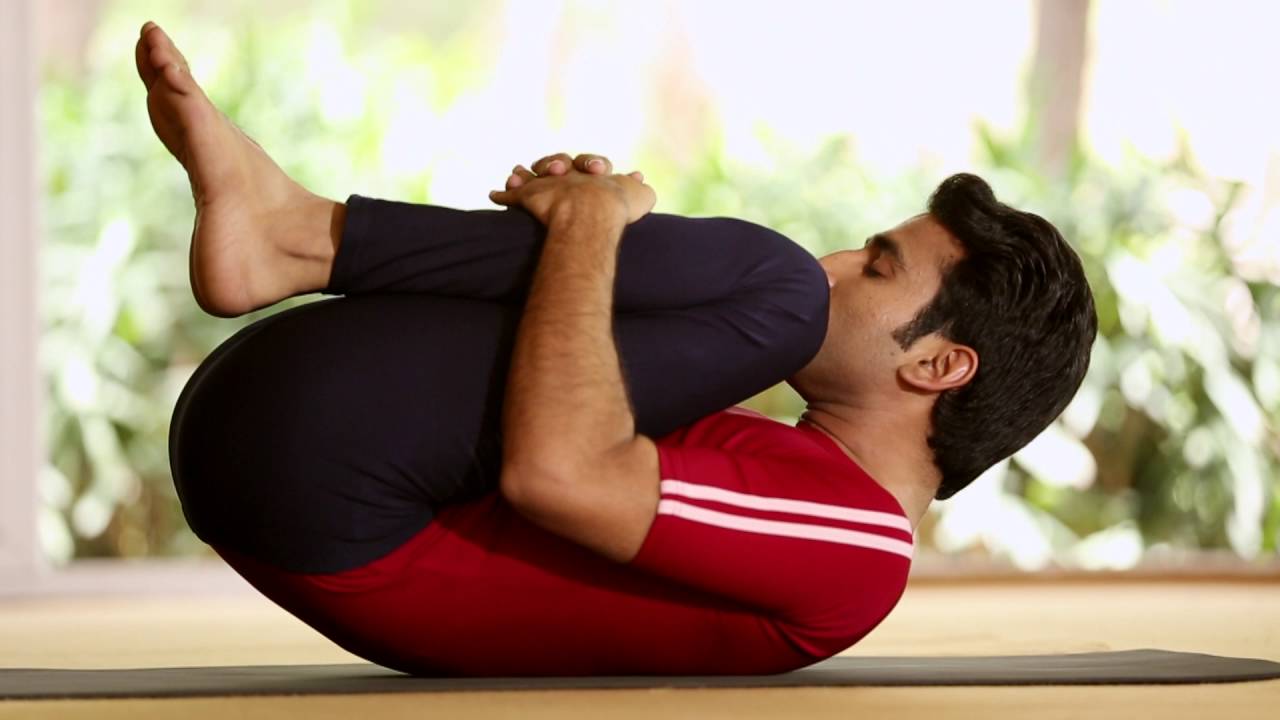
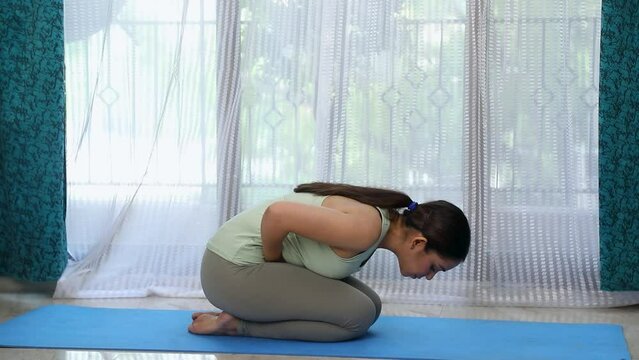
Goa’s awe-inspiring landscapes envelop you in a sense of tranquility and beckon you to immerse yourself in the meditative realm of yoga. The soft rustling of palm fronds, the gentle lullaby of the sea, and the sweet fragrance of frangipani blossoms set a picturesque stage for your yogic odyssey. As you gracefully flow through your asanas, harmonizing your breath with the rhythms of nature, you’ll experience a profound connection with the universe, reminding you of the intrinsic bond shared between all living beings.

Embark on a Journey of Teaching and Growth and become a Registered Yoga teacher.

goa yoga teacher training

Click here to Join 200 Hour Hatha Vinyasa Yoga Training

4. Embracing the Divine Within

Goa’s spiritual essence goes far beyond its beautiful exterior. It resonates within the hearts of its people and echoes through its sacred temples and churches.

The blend of Eastern mysticism and Western spirituality provides a unique chance for seekers to delve into the depths of their spiritual beings.

With each breath, you draw nearer to embracing the divine within yourself, unlocking the boundless reservoir of love, compassion, and wisdom that resides in your soul.

3. The Gateway to Holistic Wellness

The healing energy of Goa fills the air, inviting you to embrace a world of holistic wellness. Indulge in Ayurvedic therapies, rejuvenating spa treatments, and soul-nourishing organic cuisine, all of which rejuvenate your body, mind, and spirit.

As the burdens of daily life dissolve, you’ll embark on a transformative journey of self-healing, leaving behind the weight of the past and embracing the serenity of the present moment.

Learn Asana/Yoga Posture

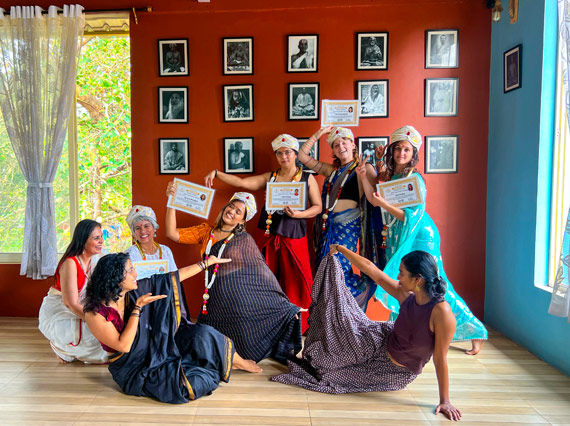
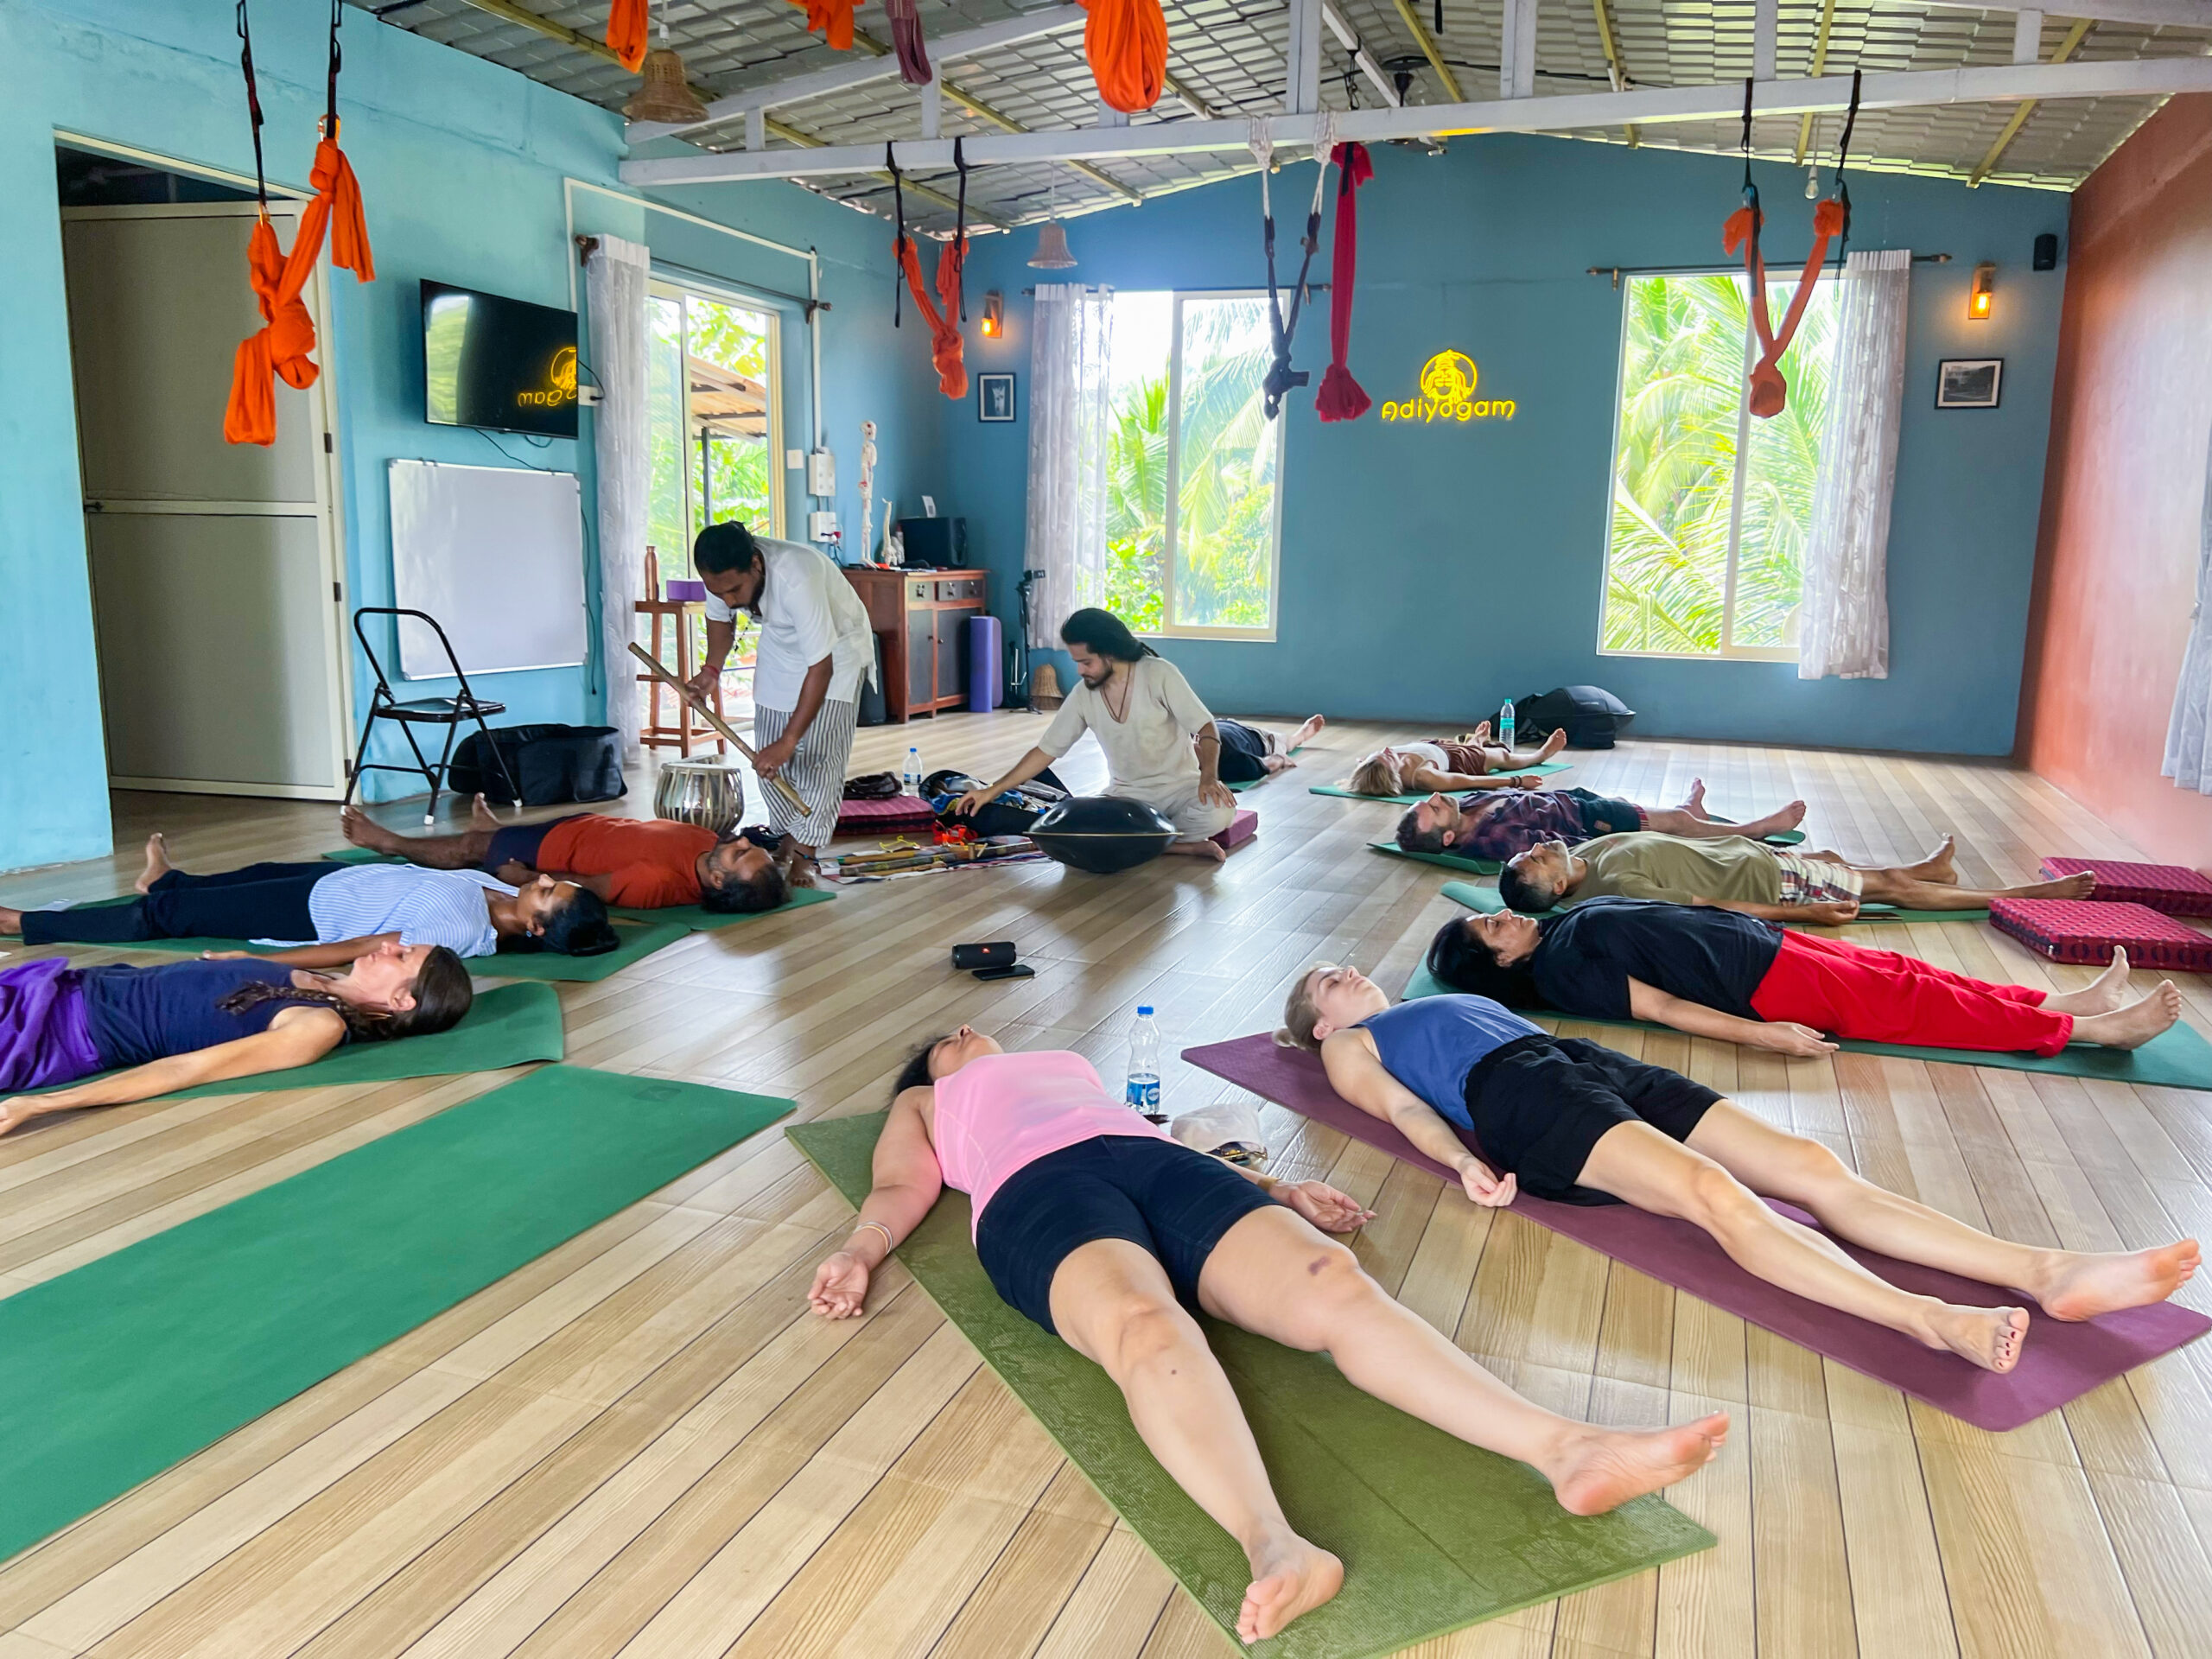
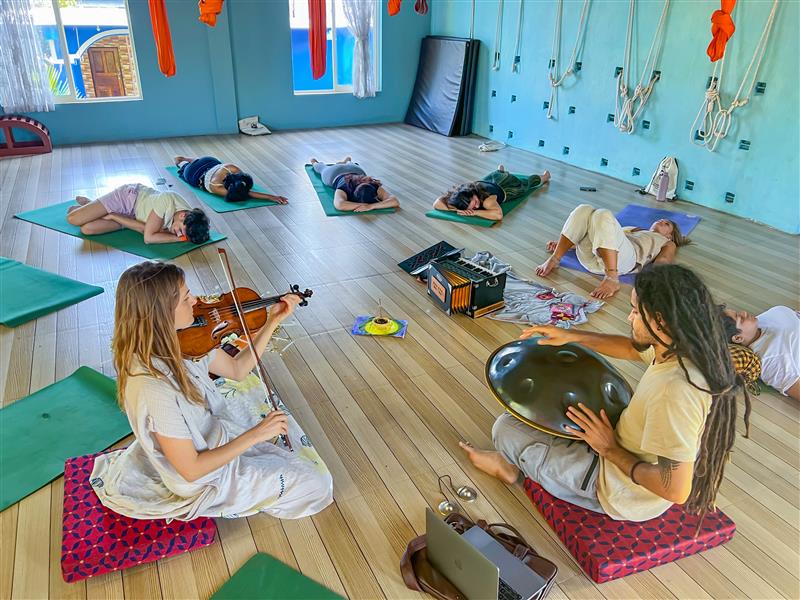
2. A Vibrant Yoga Community

At the heart of Goa’s yoga scene lies its dynamic community of practitioners and teachers. With the sun ascending over the azure horizon, yogis convene on the beaches and amid verdant gardens to exchange their practice and wisdom.

This diverse and vibrant community fosters an atmosphere of limitless learning, where age-old wisdom intertwines with contemporary perspectives. You’ll undoubtedly be inspired by the collective energy and knowledge, propelling you on a journey of growth and enlightenment.

1. Awaken Your True Self

Goa is not just a destination; it embodies a state of mind. Here, the lines between the inner and outer worlds blur, granting you the ability to transcend limitations and embrace your authentic self.

Regardless of whether you’re a seasoned yogi or a curious novice, Goa possesses the key to unlocking the enchanting magic that resides within you. Surrender yourself to the captivating melodies of your heart and allow Goa to cast its transformative spell upon your soul.

In the Embrace of Goa: A Journey That Lasts a Lifetime

As we bid farewell to this enchanting journey, we take comfort in knowing that the magic of Goa will forever reside within us. This divine land possesses the power to ignite the flames of passion, serenity, and self-discovery deep within our souls. It possesses an alchemical ability to transform our lives, guiding us towards a realm of eternal bliss and wisdom. Allow Goa to become the canvas upon which you paint the masterpiece of your yoga teacher training, and may it be the sanctuary where your heart finds its eternal abode.

So, why wait any longer? Embark on this wondrous odyssey and let Goa be the perfect backdrop for your transformative yoga teacher training.

29Sep

A 200-hour yoga teacher training certification expert lists the benefits of yoga supported by scientific evidence

What is Yoga

A 200-hour yoga teacher training certification

When I was teaching 200-hour yoga teacher training certification I felt that I had to share these details with my students. Yoga is an ancient practice of exercise and spirituality. It had been introduced into the heart of the continent during ancient times. Yoga is originally a group of physical, mental, and spiritual practices or disciplines that originated in ancient India by the rishis/sages. There have been many forms of exercise and training like the 200-hour yoga teacher training certification which came into view in the recent past, but yoga has stood the test of time, with mentions of Yoga having been found for more than five thousand years. 

Yoga comes from the word “yog” in Hindi or “yuj” in Sanskrit, which means “to join” or “unite”. The practice aims to create a union between body, mind, and spirit, as well as between the individual self and universal consciousness. Such a union tends to neutralize thoughts and behaviors driven by ego, thereby creating a sense of spiritual awakening.

Evidence based Benefits of Yoga

The benefits of yoga don’t just stop at becoming more flexible, burning calories, or losing belly fat. Yoga is an extensive body-mind workout whose advantages go deeper than just fitting into an old pair of pants. It forms a deeper connection between the mind and body, helps to enrich our soul, and gives the mind and the body its ultimate purpose. While you may be thinking of all the reasons why yoga isn’t for you, here are a few reasons why you may want to start yoga. Always a good way to start practicing is, under a qualified yoga teacher who has done at least 200-hour yoga teacher training certifications.

1. Yoga improves flexibility

Yoga plays a very important role in improving the flexibility of the body. It helps to slowly loosen up the tight muscles by stretching them and letting them relax thereby making the body limber. The goals of flexibility related to yoga can be set according to the comfort level of each individual. Even if your personal goal is to touch your toes, reduce the tightness in your hamstrings, or to simply feel less stiff, the stretches and postures performed during yoga will be the perfect source of help for you. 

Once you’ve developed greater strength and flexibility in your muscles, it will consequently reduce any risk of injury and will allow greater movement in your body, making you feel less stiff or tired. The body loves this benefit of yoga because it loosens soreness and tight muscles and serves as a recharge after more strenuous activity. Despite that, being more flexible means that the body is less susceptible to muscle injuries and faster recovery is more likely to occur.

2. Yoga builds strength

Yoga may appear to be all about stretching the body and holding poses, but those poses pack a lot of power that build strength, endurance, and also tone muscles. Yoga postures excel at using our own body weight, i.e., to rely on our bodies to form the poses with precision. The consistent practice of this promotes better strength, and better quality of health, and makes us less likely to succumb to certain muscle conditions and injuries.

When the talk is about strength building, in yoga, it doesn’t just refer to strengthening the muscles. Strengthening the body and the mind, improving immunity and building focus and concentration are also some of the key benefits of practicing yoga. Although strength building through yoga is probably not something that immediately comes to mind as opposed to flexibility, trying out the downward dog pose will help you realize how much strength yoga requires.

Check out the below link if you really want to experience 27 days of Yogic lifestyle in a 200-hour yoga teacher training certification.

You can learn these concepts in depth by joining the upcoming Yoga teacher training program at ADIYOGAM  Goa.

Become a Certified Yoga teacher

3. Yoga improves immunity

Yoga is a combination of physical exercise, diet control, breathing techniques, and concentration, which strengthens the body and relaxes the mind. This, in turn, improves immunity. Asana practice provides a gentle, natural means of supporting the immune system on a day-to-day basis. 

The current lifestyle and hectic day-to-day schedules have increased the levels of stress in most of us and stress as we know, worsens or lifts the risk of conditions such as depression, gastrointestinal problems, heart diseases, diabetes, obesity, Alzheimer’s disease, asthma, and so on. 

Yoga helps lower stress hormones that compromise the immune system and calms the nervous system while also conditioning the lungs and respiratory tract.

4. Reduces Stress and Anxiety

Stress and anxiety are terms that are unfortunately used with too much regularity these days. With evolving technologies, there has been an increase in stress among common people as the pace of life has considerably fastened. This can lead to extreme physical and mental discomfort and pave the way for serious health issues. 

It is well known that regular exercise can positively affect our mental health by reducing feelings of stress, anxiety, and depression. It has been found that yoga acts as a self-soothing technique and can help manage stress response systems by reducing the heart rate, lowering blood pressure, and easing respiration.

The areas of the body that tend to carry the most stress are the neck, shoulders, and back. Yoga poses help loosen up these tensed muscles in our body thereby leaving us with a sense of relief.

A lot of students come to our 200-hour yoga teacher training certification to reduce stress and anxiety due to their lifestyle choices, we give them A yogic lifestyle which includes authentic food, Asana, Pranayama, and outdoor yoga practice at the beach. 

5. Improves the cardiovascular system

The cardiovascular system refers to the organ system consisting of the heart and blood vessels. It helps in carrying blood and oxygen to different organs, tissues, and cells of the body. The different poses in yoga along with a varied range of breathing exercises help to strengthen the heart. 

It ensures a proper supply of oxygenated blood to the tissues, which helps to keep them healthy and strong. A stronger cardiovascular system will boost your immunity and help you fight diseases in the long run.

By improving circulation, yoga helps to prevent various circulatory ailments and illnesses such as high blood pressure, shallow breathing, muscle tension, and coronary heart diseases.

6. Improves sleep

Sleep is an extremely essential part of a healthy lifestyle. Proper sleep can lead to better health conditions, reduced stress, and reduced risks of development of nerve-related problems. It has been found that incorporating yoga into your routine can help promote better sleep. 

Yoga is the ultimate relaxing mechanism that can help you relax and unwind, thereby helping you to fall asleep faster, and deeper, and feel more rested when you wake up. It has also been seen that yoga helps in increasing the secretion of melatonin, a hormone that regulates sleep and wakefulness.

In Conclusion:

In conclusion, we can say that the health benefits of yoga are tremendous. If you’re stopping yourself from trying it just because you think you’re not flexible or fit enough, that’s even more of a reason why you should start practicing yoga. The pandemic has shown us all that the only way to live a healthier, happier life is by incorporating a healthier lifestyle, and yoga in all ways supports exceptionally for the same.

That said, you don’t have to wait to feel stressed out fall ill, or feel stiff to start your yoga journey. People who do a little bit of yoga each day often find they’re better able to handle things when life gets a little strenuous. Apart from helping you to get fitter, it also helps you deal with stress, pick up your child without having to worry about a stiff back, control your dog, carry groceries, run errands easily or even deal with chaotic life situations with a level head. You fine-tune your attention, beginning with the body, and then moving to the mind. As you get deeper into your practice over the years, you also start to see the mental and spiritual benefits.

Its always good to start from an authentic Yoga school and I always inform my students who come to our 200-hour yoga teacher training certification that the journey is important, the process is not about how much we have completed but how much we have been able to adopt in our lifestyle.

20Sep

Setubandasana (bridge pose)

Setubandasana (bridge pose)

The bridge pose ( Setubandhasana ) name comes from the Sanskrit, “Setu” meaning “Bridge”, and “Asana”, meaning “Posture”.

Table of Contents

  • Steps with breathing
  • Adjustments
  • Benefits
  • Contra-Indications
  • Variations

Bridge pose Steps with breathing

1. Begin with a supine position, lie flat on the back with legs and feet together in a straight line. Place the hands and arms close to the body with the palms facing down.

2. Now, bend both legs from the knees, bringing the soles of the feet firmly placed on the mat.

3. Pressing the feet and palms firmly on the floor, with inhalation lift the hips toward the ceiling, push the tailbone upwards and while firming the buttocks, roll the shoulders back.

4. Maintain the final pose from 30 seconds to 1 minute. As you exhale, slowly lower the spine along the floor, vertebra by vertebra. Allow your knees to drop together and rest in Shavasana.

Adjustments

1. Heels closer to the tailbone.

2. Thighs are parallel and knees are perpendicular to the floor.

3. Squeeze the buttocks and lift the tailbone.

4. Keep both feet parallel to each other.

Variations

1. Hands supporting the waistline and lift the tailbone up towards the ceiling.

2. Catch hold of the ankles and lift the tailbone up towards the ceiling.

3. Interlace the fingers behind the back and lift the tailbone up towards the ceiling.

Benefits

1. This asana helps to realign the spine, by eliminating rounded shoulders and relieving backache.

2. It massages and stretches the colon and abdominal organs.

3. Improving digestion.

4. It also tones the female reproductive organs.

Contraindications

1. People who are suffering from peptic or duodenal ulcer.

2. Abdominal hernia should avoid this asana.

20Sep

Supta Matsyendrasana(reclined spinal twist pose/shava udarakarshasana)

The name Supta Matsyendrasana comes from the Sanskrit, “Supta” meaning “Supine”, “Matsyendra” meaning “Lord of the fish”, and “Asana”, meaning “Posture”.

Table of Contents

  • Steps with breathing
  • Adjustments
  • Benefits
  • Contra Indications
  • Variations

Supta Matsyendrasana Steps with breathing

1. Begin with supine position by lying flat on back with both the legs together and hands besides the hips. Now, bend the right leg and keep the right foot closer to the left knee.

2. Extend both the arms sideways, at the shoulder level, palms facing downwards.

3. Now bring the right foot at the outer edge of the left knee. With exhalation bring the right knee towards the floor and using the left hand, push it more towards the left side and roll the neck towards the right side.

4. Maintain the pose from 30 seconds to a minute without straining and repeat the asana on the other side also.

5. Slowly release the hands and legs and relax in Shavasana.

Adjustments

1. Palms should face downwards in line with shoulders.

2. Foot of the bent knee is in line with the knee of the straightened leg.

3. Bent Knee should be at the hip level.

Variations

1. Catch hold of the shin bone.

2. Interlace the fingers behind the hamstring and extend the bent knee.

Benefits

1. Improves spinal flexibility.

2. Relieves pain and stiffness in the hips and lower back.

3. Improves digestion and detoxifies internal organs.

4. Massages abdominal tissues.

Contraindications

1. This asana should be strictly prohibited by the people with recent internal organ surgeries.

2. People who have limited range of motion in the hip region.

3. Severe lower back problems.

4. Hernia and neck injuries.

20Sep

Supta Kapotasana (Reclining pigeon pose)

The name comes from the Sanskrit,“Supta” meaning “Supine”, “Kapota” meaning “Pigeon”,and “Asana”, meaning “Posture”.

Table of Contents

  • Steps with breathing
  • Adjustments
  • Benefits
  • Contra Indications
  • Variations

Reclining Pigeon pose Steps with breathing

1. Begin with supine position, lie flat on the back with legs and feet together in a straight line.

2. Now slowly bend the legs, bringing the soles of the feet on the mat.

3. Lift the right leg and cross it over the left leg, bringing the ankle several inches above the knee of the left leg.

4. Bring the right hand inside the left thigh and left hand from the outer side of the left thigh, now clasp the fingers behind the left hamstring and lift the left foot off the floor.

5. Begin to gently pull the knee towards the chest and remain in this pose for 30 seconds to a minute, then switch sides.

6. And Finally With exhalation, gently release the legs, release the clasped fingers, bring the foot down and relax in shavasana.

Adjustments

1. Feet closer to the hips.

2. Bring ankle in line in addition with knees.

3. Maintain the pose without stressing the neck muscles and the shoulder blades.

Variations

1. Catch hold of the shin bone.

2. Interlace the fingers behind the hamstring and extend the bent knee.

Benefits

1. Gives a deep stretch to lower back.

2. Stretches outer thighs, and glutes muscles.

3. Improves blood circulation in the lower limbs and in the pelvic region.

Contraindications

1. People suffering with chronic knee.

2. Sacroiliac issues should avoid this asana.

20Sep

Vipareeta karani ( inverted pose)

The name comes from the Sanskrit,“Vipareeta” meaning “inverted”, “Karni” meaning “Doing”,and “Asana”, meaning “Posture”.It is also called as ‘Legs up the wall pose’.

Table of Contents of Vipareeta karni

  • Steps with breathing
  • Adjustments
  • Benefits
  • Contra Indications
  • Variations

Vipareeta karni Steps with breathing

1. Begin with supine position, lie flat on the back with legs and feet together in a straight line. Place the hands and arms close to the body with the palms facing down.

2. With inhalation, raise both the legs vertically, keeping them straight and together.

3. Firm the palms down, raise the buttocks off the floor, taking the legs further over the head, turn the palms up, bend the elbows and let the top of the hips rest on the base of the palms. In the final position, the weight of the body rests on the shoulder, neck and elbows, the trunk is at a 45 degree angle to the floor and the legs are vertical. Maintain the final pose from 30 seconds to a minute.

4. To come out of the asana, with exhalation, lower the legs over the head, then place the arms closer to the body, slowly lower the spine ,(vertebra by vertebra along the floor) and when buttocks reach the floor, lower the legs and relax in shavasana.

Adjustments

1. Raise the legs to 90degree by pressing palms down on the ground and use hands to support your hips.

2. Keep your head and neck in a neutral position.

3. Let your sternum lift towards the chin.

Variations

1. Vipreet karni can be done using the wall support.

2. Legs can be spread in wide ‘V’ position when they are against the wall.

Benefits

1. It balances the circulatory, respiratory, digestive, reproductive, nervous and endocrine systems.

2. It also tranquilizes the mind, relieves mental and emotional stress, and helps clear psychological disturbances.

3. It boosts the immune system.

4. Massages the abdominal organs.

Contraindications

1. This asana should not be practiced by the people suffering from enlarged liver and spleen.

2. Slipped disc.

3. High blood pressure, other heart ailments.

4. Weak blood vessels in the eyes.

20Sep

Halasana (plow pose)

The name comes from the Sanskrit, “Hala” meaning “Plough”,and “Asana”, meaning “Posture”.

Table of Contents of plow pose

  • Steps with breathing
  • Adjustments
  • Benefits
  • Contra Indications
  • Variations

Steps with breathing

1. Lie flat on the back with the legs and feet together. Place the arms besides the body with the palms facing down.

2. Raise both legs to the vertical position, keeping them straight and together, press down the palms and lift the buttocks, rolling the back away from the floor.

3. Turn the palms up, bend the elbows and place the hands behind the rib cage to support the back.

4. Lower the legs over the head and bring the toes towards the floor behind the head without straining, but do not force the toes to touch the floor. Hold the final pose from 30 seconds to a minute.

5. Release the pose and relax in shavasana by taking the toes off the floor, lowering the arms with palms facing down, then gradually lower the legs and each vertebra of the spine to the floor, followed by the buttocks.

Adjustments

1. Lift legs at a 90-degree angle.

2. Lengthen the torso upright and keep it perpendicular to the floor.

3. Legs fully extended and toes released.

Variations

1. Parsva halasana (left and right).

2. Interlacing the fingers behind the back and straighten the arms.

Benefits

1. Very effective in relieving constipation and dyspepsia.

2. The movement of the diaphragm during the practice of halasana massages all the internal organs, it activates the digestion system and improves liver and kidneys function.

3. It strengthens the abdominal muscles, relieves spasm in the back muscles, tones the spinal nerves and increases the blood circulation to the whole area.

4. It regulates the activity of thyroid gland, which balance the body’s metabolic rate. It also improves the immune system.

Contraindications

1. This asana should not be practiced by those who suffer from hernia.

2. Slipped disc, and sciatica.

3. High blood pressure and

4. Any other serious back problem and neck injuries.