(img alt= height="1" width="1" style="display:none" src="https://www.facebook.com/tr?id=826411655851847&ev=PageView&noscript=1"/)
29Sep

200-hour yoga TTC expert lists the benefits of yoga supported by scientific evidence

What is Yoga

When I was teaching 200-hour yoga teacher training certification I felt that I had to share these details with my students. Yoga is an ancient practice of exercise and spirituality. It had been introduced into the heart of the continent during ancient times. Yoga is originally a group of physical, mental, and spiritual practices or disciplines that originated in ancient India by the rishis/sages. There have been many forms of exercise and training like the 200-hour yoga teacher training certification which came into view in the recent past, but yoga has stood the test of time, with mentions of Yoga having been found for more than five thousand years. 

Yoga comes from the word “yog” in Hindi or “yuj” in Sanskrit, which means “to join” or “unite”. The practice aims to create a union between body, mind, and spirit, as well as between the individual self and universal consciousness. Such a union tends to neutralize thoughts and behaviors driven by ego, thereby creating a sense of spiritual awakening.

Evidence based Benefits of Yoga

The benefits of yoga don’t just stop at becoming more flexible, burning calories, or losing belly fat. Yoga is an extensive body-mind workout whose advantages go deeper than just fitting into an old pair of pants. It forms a deeper connection between the mind and body, helps to enrich our soul, and gives the mind and the body its ultimate purpose. While you may be thinking of all the reasons why yoga isn’t for you, here are a few reasons why you may want to start yoga. Always a good way to start practicing is, under a qualified yoga teacher who has done at least 200-hour yoga teacher training certifications.

1. Yoga improves flexibility

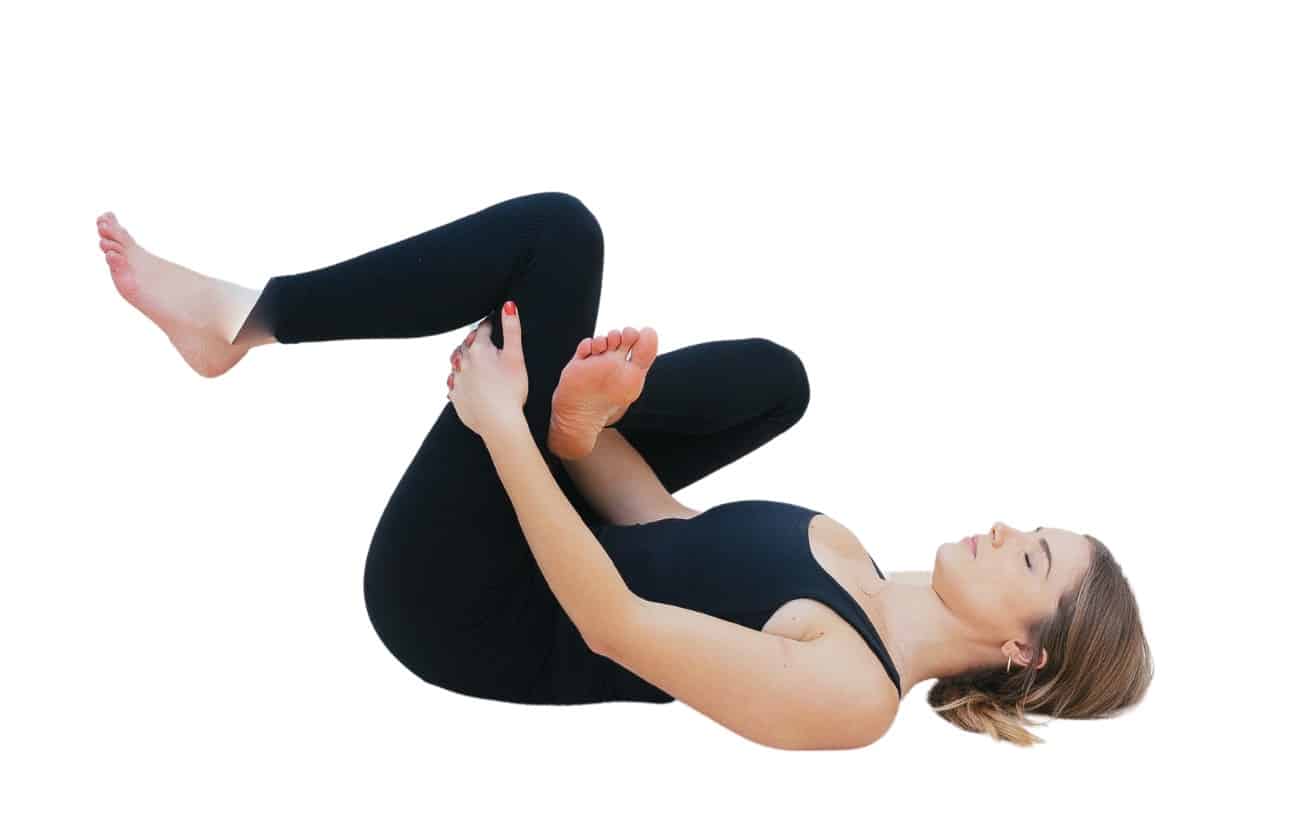
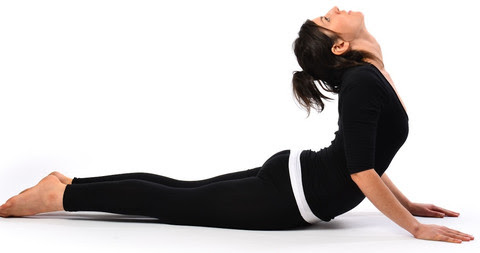
Yoga plays a very important role in improving the flexibility of the body. It helps to slowly loosen up the tight muscles by stretching them and letting them relax thereby making the body limber. The goals of flexibility related to yoga can be set according to the comfort level of each individual. Even if your personal goal is to touch your toes, reduce the tightness in your hamstrings, or to simply feel less stiff, the stretches and postures performed during yoga will be the perfect source of help for you. 

Once you’ve developed greater strength and flexibility in your muscles, it will consequently reduce any risk of injury and will allow greater movement in your body, making you feel less stiff or tired. The body loves this benefit of yoga because it loosens soreness and tight muscles and serves as a recharge after more strenuous activity. Despite that, being more flexible means that the body is less susceptible to muscle injuries and faster recovery is more likely to occur.

2. Yoga builds strength

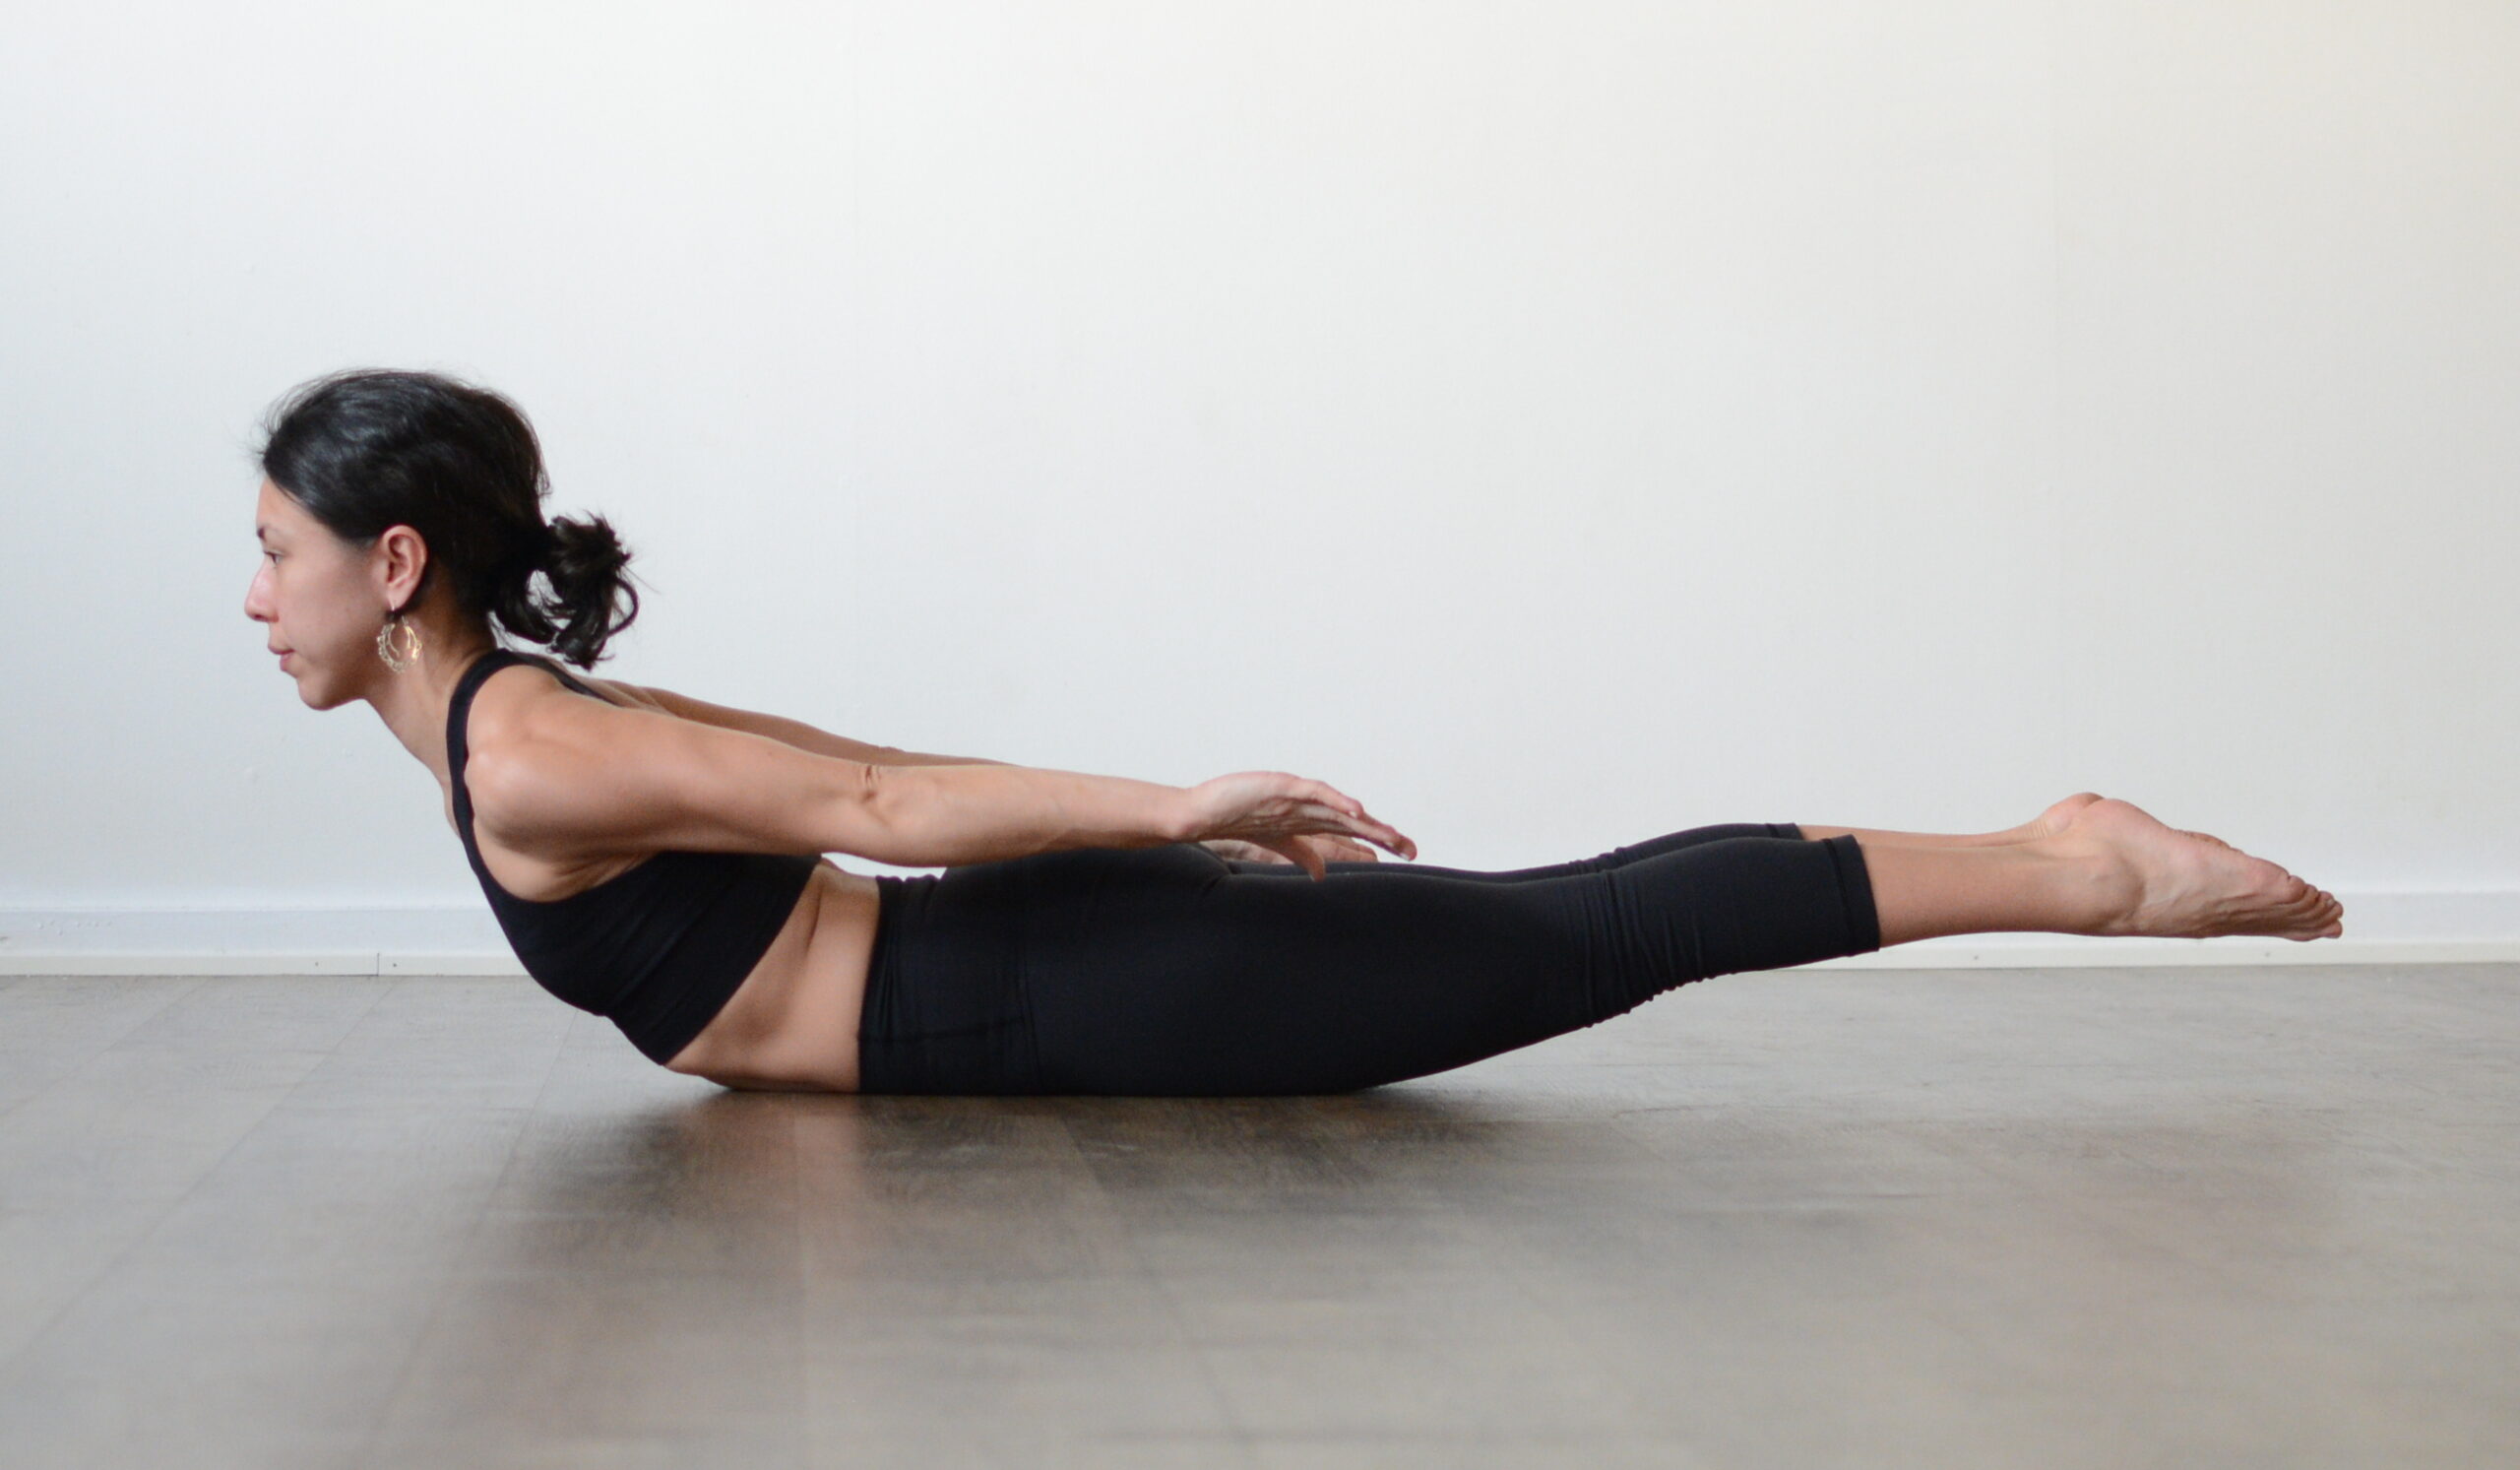
Yoga may appear to be all about stretching the body and holding poses, but those poses pack a lot of power that build strength, endurance, and also tone muscles. Yoga postures excel at using our own body weight, i.e., to rely on our bodies to form the poses with precision. The consistent practice of this promotes better strength, and better quality of health, and makes us less likely to succumb to certain muscle conditions and injuries.

When the talk is about strength building, in yoga, it doesn’t just refer to strengthening the muscles. Strengthening the body and the mind, improving immunity and building focus and concentration are also some of the key benefits of practicing yoga. Although strength building through yoga is probably not something that immediately comes to mind as opposed to flexibility, trying out the downward dog pose will help you realize how much strength yoga requires.

Check out the below link if you really want to experience 27 days of Yogic lifestyle in a 200-hour yoga teacher training certification.

You can learn these concepts in depth by joining the upcoming Yoga teacher training program at ADIYOGAM Goa.

3. Yoga improves immunity

Yoga is a combination of physical exercise, diet control, breathing techniques, and concentration, which strengthens the body and relaxes the mind. This, in turn, improves immunity. Asana practice provides a gentle, natural means of supporting the immune system on a day-to-day basis. 

The current lifestyle and hectic day-to-day schedules have increased the levels of stress in most of us and stress as we know, worsens or lifts the risk of conditions such as depression, gastrointestinal problems, heart diseases, diabetes, obesity, Alzheimer’s disease, asthma, and so on. 

Yoga helps lower stress hormones that compromise the immune system and calms the nervous system while also conditioning the lungs and respiratory tract.

4. Reduces Stress and Anxiety

Stress and anxiety are terms that are unfortunately used with too much regularity these days. With evolving technologies, there has been an increase in stress among common people as the pace of life has considerably fastened. This can lead to extreme physical and mental discomfort and pave the way for serious health issues. 

It is well known that regular exercise can positively affect our mental health by reducing feelings of stress, anxiety, and depression. It has been found that yoga acts as a self-soothing technique and can help manage stress response systems by reducing the heart rate, lowering blood pressure, and easing respiration.

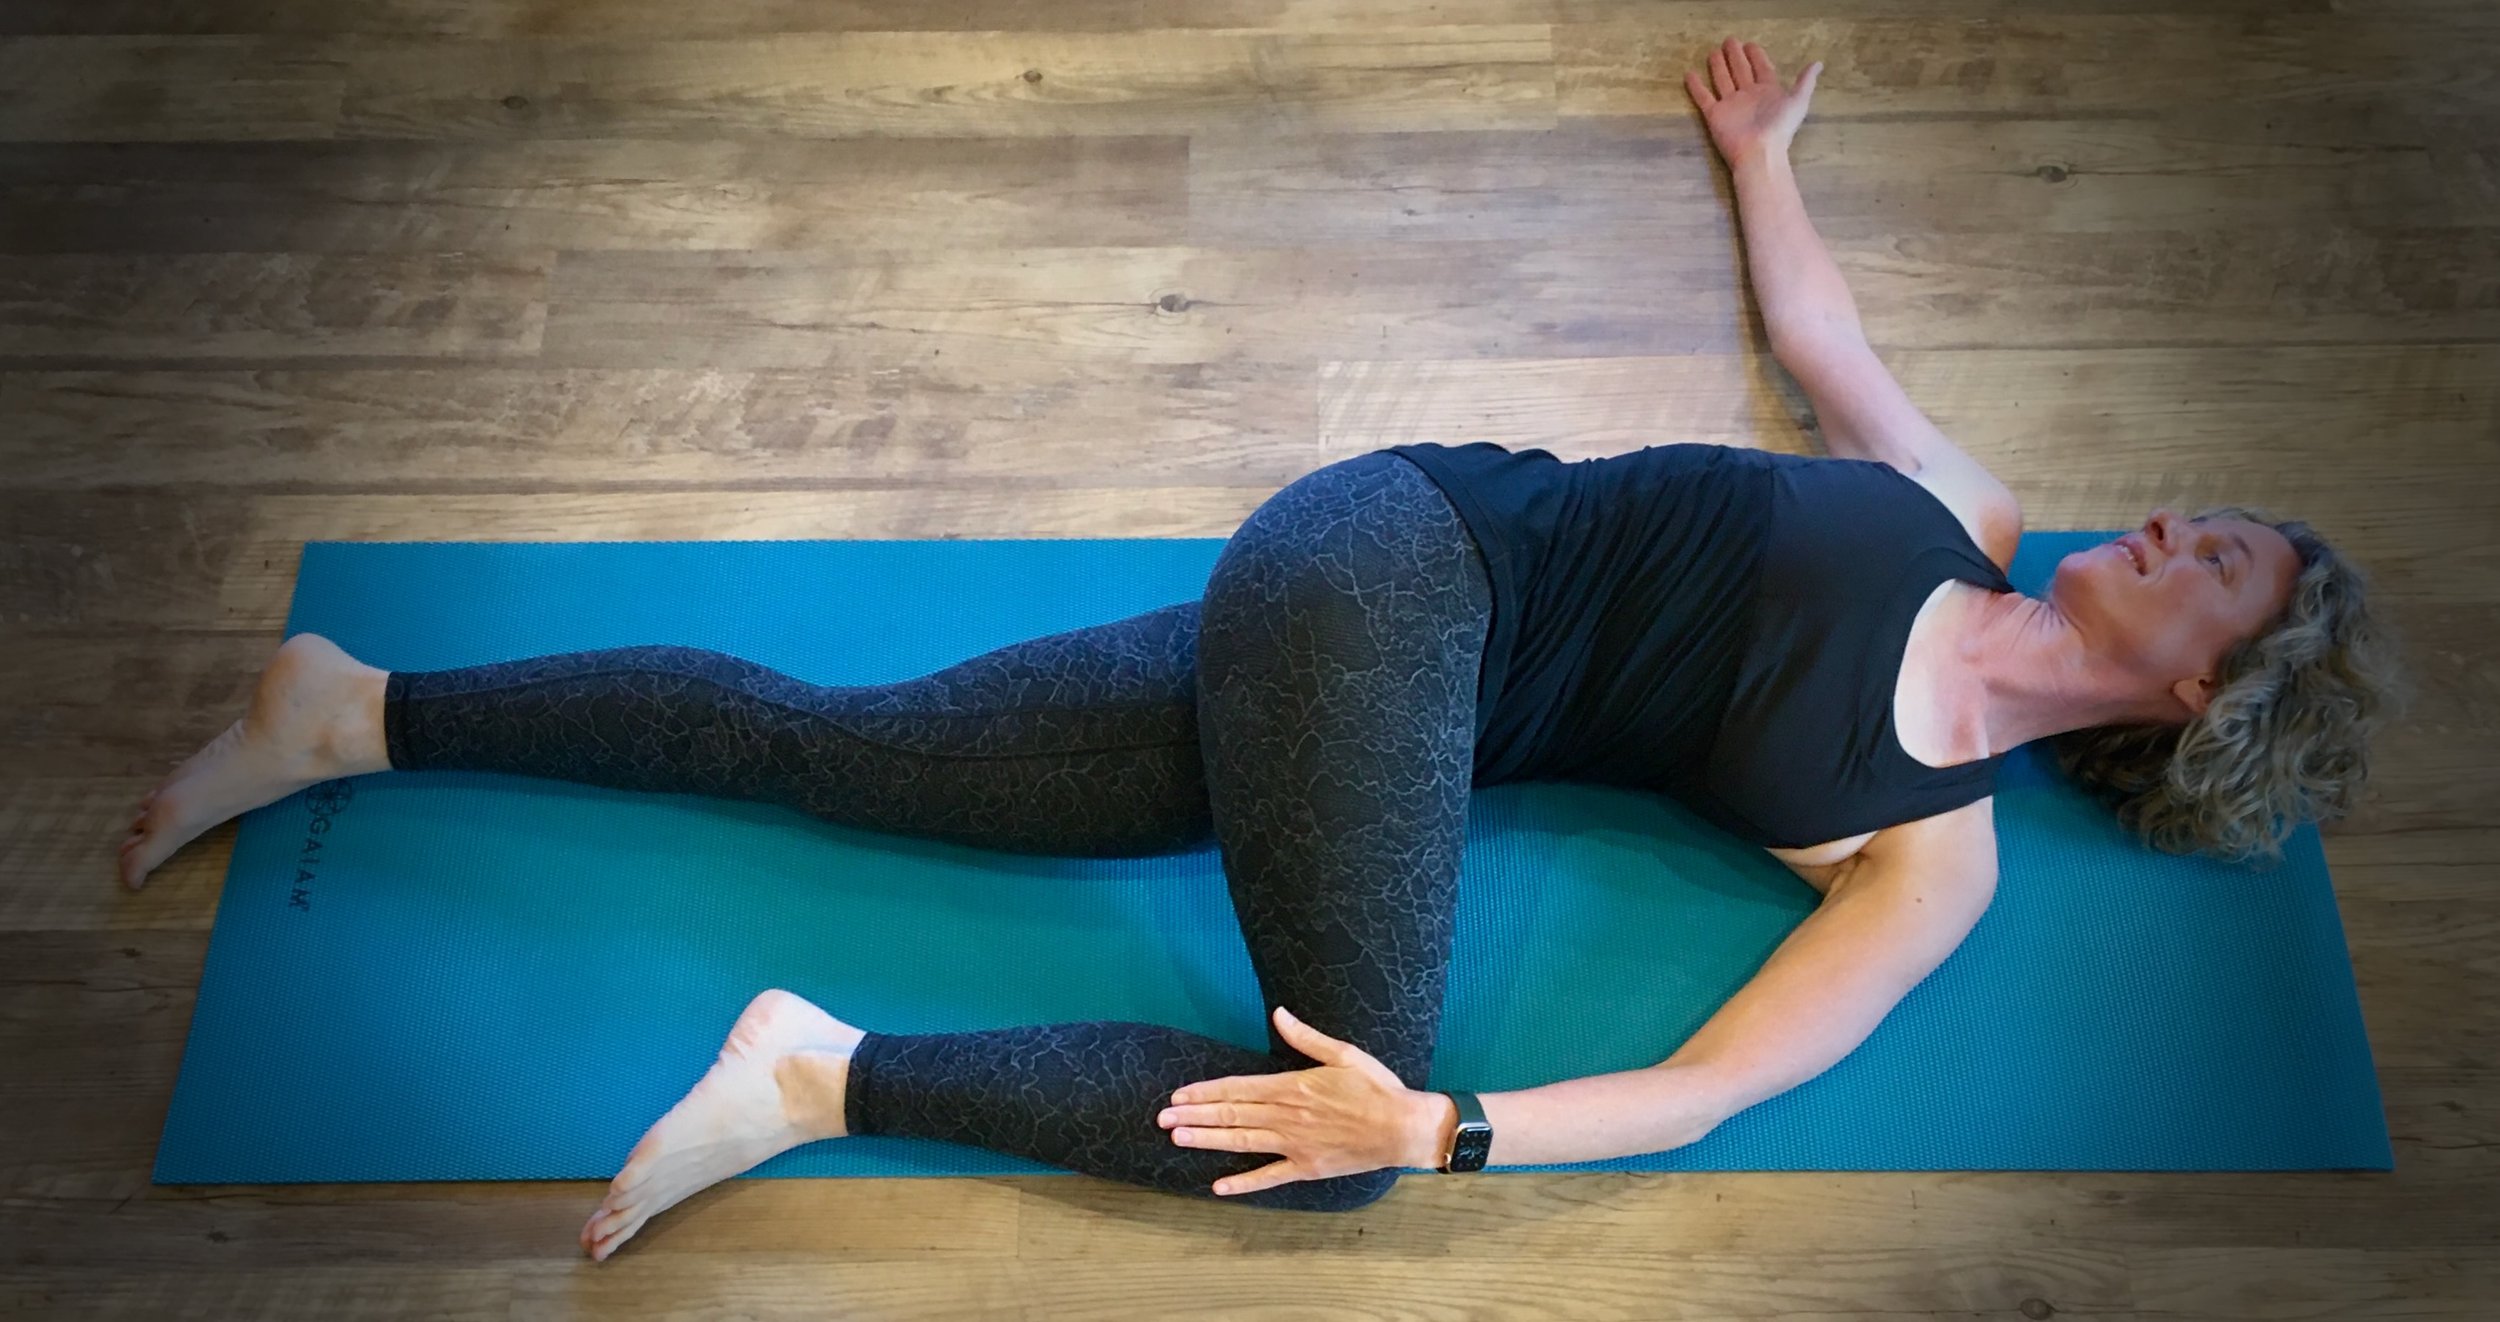
The areas of the body that tend to carry the most stress are the neck, shoulders, and back. Yoga poses help loosen up these tensed muscles in our body thereby leaving us with a sense of relief.

A lot of students come to our 200-hour yoga teacher training certification to reduce stress and anxiety due to their lifestyle choices, we give them A yogic lifestyle which includes authentic food, Asana, Pranayama, and outdoor yoga practice at the beach. 

5. Improves the cardiovascular system

The cardiovascular system refers to the organ system consisting of the heart and blood vessels. It helps in carrying blood and oxygen to different organs, tissues, and cells of the body. The different poses in yoga along with a varied range of breathing exercises help to strengthen the heart. 

It ensures a proper supply of oxygenated blood to the tissues, which helps to keep them healthy and strong. A stronger cardiovascular system will boost your immunity and help you fight diseases in the long run.

By improving circulation, yoga helps to prevent various circulatory ailments and illnesses such as high blood pressure, shallow breathing, muscle tension, and coronary heart diseases.
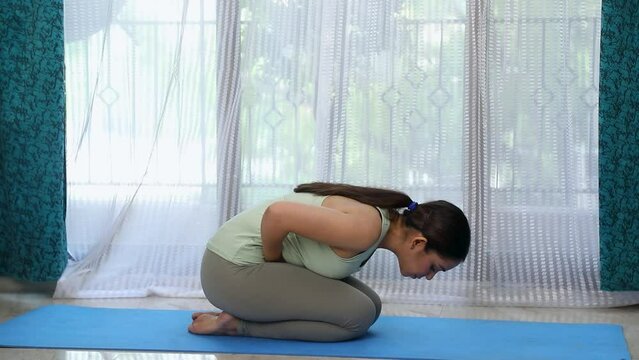
6. Improves sleep

Sleep is an extremely essential part of a healthy lifestyle. Proper sleep can lead to better health conditions, reduced stress, and reduced risks of development of nerve-related problems. It has been found that incorporating yoga into your routine can help promote better sleep. 

Yoga is the ultimate relaxing mechanism that can help you relax and unwind, thereby helping you to fall asleep faster, and deeper, and feel more rested when you wake up. It has also been seen that yoga helps in increasing the secretion of melatonin, a hormone that regulates sleep and wakefulness.

In Conclusion:

In conclusion, we can say that the health benefits of yoga are tremendous. If you’re stopping yourself from trying it just because you think you’re not flexible or fit enough, that’s even more of a reason why you should start practicing yoga. The pandemic has shown us all that the only way to live a healthier, happier life is by incorporating a healthier lifestyle, and yoga in all ways supports exceptionally for the same.

That said, you don’t have to wait to feel stressed out fall ill, or feel stiff to start your yoga journey. People who do a little bit of yoga each day often find they’re better able to handle things when life gets a little strenuous. Apart from helping you to get fitter, it also helps you deal with stress, pick up your child without having to worry about a stiff back, control your dog, carry groceries, run errands easily or even deal with chaotic life situations with a level head. You fine-tune your attention, beginning with the body, and then moving to the mind. As you get deeper into your practice over the years, you also start to see the mental and spiritual benefits.

Its always good to start from an authentic Yoga school and I always inform my students who come to our 200-hour yoga teacher training certification that the journey is important, the process is not about how much we have completed but how much we have been able to adopt in our lifestyle.

20Sep

Setubandasana (bridge pose)

Setubandasana (bridge pose)

The bridge pose ( Setubandhasana ) name comes from the Sanskrit, “Setu” meaning “Bridge”, and “Asana”, meaning “Posture”.

Table of Contents

  • Steps with breathing
  • Adjustments
  • Benefits
  • Contra-Indications
  • Variations

Bridge pose Steps with breathing

1. Begin with a supine position, lie flat on the back with legs and feet together in a straight line. Place the hands and arms close to the body with the palms facing down.

2. Now, bend both legs from the knees, bringing the soles of the feet firmly placed on the mat.

3. Pressing the feet and palms firmly on the floor, with inhalation lift the hips toward the ceiling, push the tailbone upwards and while firming the buttocks, roll the shoulders back.

4. Maintain the final pose from 30 seconds to 1 minute. As you exhale, slowly lower the spine along the floor, vertebra by vertebra. Allow your knees to drop together and rest in Shavasana.

Adjustments

1. Heels closer to the tailbone.

2. Thighs are parallel and knees are perpendicular to the floor.

3. Squeeze the buttocks and lift the tailbone.

4. Keep both feet parallel to each other.

Variations

1. Hands supporting the waistline and lift the tailbone up towards the ceiling.

2. Catch hold of the ankles and lift the tailbone up towards the ceiling.

3. Interlace the fingers behind the back and lift the tailbone up towards the ceiling.

Benefits

1. This asana helps to realign the spine, by eliminating rounded shoulders and relieving backache.

2. It massages and stretches the colon and abdominal organs.

3. Improving digestion.

4. It also tones the female reproductive organs.

Contraindications

1. People who are suffering from peptic or duodenal ulcer.

2. Abdominal hernia should avoid this asana.

20Sep

Supta Matsyendrasana(reclined spinal twist pose/shava udarakarshasana)

Supta Matsyendrasana Pose

The name Supta Matsyendrasana comes from the Sanskrit, “Supta” meaning “Supine”, “Matsyendra” meaning “Lord of the fish”, and “Asana”, meaning “Posture”.

Table of Contents

  • Steps with breathing
  • Adjustments
  • Benefits
  • Contra Indications
  • Variations

Supta Matsyendrasana Steps with breathing

1. Begin with supine position by lying flat on back with both the legs together and hands besides the hips. Now, bend the right leg and keep the right foot closer to the left knee.

2. Extend both the arms sideways, at the shoulder level, palms facing downwards.

3. Now bring the right foot at the outer edge of the left knee. With exhalation bring the right knee towards the floor and using the left hand, push it more towards the left side and roll the neck towards the right side.

4. Maintain the pose from 30 seconds to a minute without straining and repeat the asana on the other side also.

5. Slowly release the hands and legs and relax in Shavasana.

Adjustments

1. Palms should face downwards in line with shoulders.

2. Foot of the bent knee is in line with the knee of the straightened leg.

3. Bent Knee should be at the hip level.

Variations

1. Catch hold of the shin bone.

2. Interlace the fingers behind the hamstring and extend the bent knee.

Benefits

1. Improves spinal flexibility.

2. Relieves pain and stiffness in the hips and lower back.

3. Improves digestion and detoxifies internal organs.

4. Massages abdominal tissues.

Contraindications

1. This asana should be strictly prohibited by the people with recent internal organ surgeries.

2. People who have limited range of motion in the hip region.

3. Severe lower back problems.

4. Hernia and neck injuries.

20Sep

Supta Kapotasana (Reclining pigeon pose)

The supta kapotasana name comes from the Sanskrit,“Supta” meaning “Supine”, “Kapota” meaning “Pigeon”,and “Asana”, meaning “Posture”.

supta kapotasana (Reclining Pigeon) pose Steps with breathing

  1. Begin with supine position, lie flat on the back with legs and feet together in a straight line.
  2. Now slowly bend the legs, bringing the soles of the feet on the mat.
  3. Lift the right leg and cross it over the left leg, bringing the ankle several inches above the knee of the left leg.
  4. Bring the right hand inside the left thigh and left hand from the outer side of the left thigh, now clasp the fingers behind the left hamstring and lift the left foot off the floor.
  5. Begin to gently pull the knee towards the chest and remain in this pose for 30 seconds to a minute, then switch sides.
  6. And Finally With exhalation, gently release the legs, release the clasped fingers, bring the foot down and relax in shavasana.

Adjustments

  1. Feet closer to the hips.
  2. Bring ankle in line in addition with knees.
  3. Maintain the pose without stressing the neck muscles and the shoulder blades.

Variations

  1. Catch hold of the shin bone.
  2. Interlace the fingers behind the hamstring and extend the bent knee.

Benefits

  1. Gives a deep stretch to lower back.
  2. Stretches outer thighs, and glutes muscles.
  3. Improves blood circulation in the lower limbs and in the pelvic region.

Contraindications

  1. People suffering with chronic knee.
  2. Sacroiliac issues should avoid this asana.
20Sep

Viparita karani ( inverted pose)

The name comes from the Sanskrit,“Viparita” meaning “inverted”, “Karni” meaning “Doing”,and “Asana”, meaning “Posture”.It is also called as ‘Legs up the wall pose’.

Viparita karni Steps with breathing

1. Begin with supine position, lie flat on the back with legs and feet together in a straight line. Place the hands and arms close to the body with the palms facing down.

2. With inhalation, raise both the legs vertically, keeping them straight and together.

3. Firm the palms down, raise the buttocks off the floor, taking the legs further over the head, turn the palms up, bend the elbows and let the top of the hips rest on the base of the palms. In the final position, the weight of the body rests on the shoulder, neck and elbows, the trunk is at a 45 degree angle to the floor and the legs are vertical. Maintain the final pose from 30 seconds to a minute.

4. To come out of the asana, with exhalation, lower the legs over the head, then place the arms closer to the body, slowly lower the spine ,(vertebra by vertebra along the floor) and when buttocks reach the floor, lower the legs and relax in shavasana.

Adjustments

1. Raise the legs to 90degree by pressing palms down on the ground and use hands to support your hips.

2. Keep your head and neck in a neutral position.

3. Let your sternum lift towards the chin.

Variations

1. Vipreet karni can be done using the wall support.

2. Legs can be spread in wide ‘V’ position when they are against the wall.

Benefits

1. It balances the circulatory, respiratory, digestive, reproductive, nervous and endocrine systems.

2. It also tranquilizes the mind, relieves mental and emotional stress, and helps clear psychological disturbances.

3. It boosts the immune system.

4. Massages the abdominal organs.

Contraindications

1. This asana should not be practiced by the people suffering from enlarged liver and spleen.

2. Slipped disc.

3. High blood pressure, other heart ailments.

4. Weak blood vessels in the eyes.

20Sep

Halasana (plow pose)

Halasana (plow pose) name comes from the Sanskrit, “Hala” meaning “Plough”,and “Asana”, meaning “Posture”.

Steps with breathing

1. Lie flat on the back with the legs and feet together. Place the arms besides the body with the palms facing down.

2. Raise both legs to the vertical position, keeping them straight and together, press down the palms and lift the buttocks, rolling the back away from the floor.

3. Turn the palms up, bend the elbows and place the hands behind the rib cage to support the back.

4. Lower the legs over the head and bring the toes towards the floor behind the head without straining, but do not force the toes to touch the floor. Hold the final pose from 30 seconds to a minute.

5. Release the pose and relax in shavasana by taking the toes off the floor, lowering the arms with palms facing down, then gradually lower the legs and each vertebra of the spine to the floor, followed by the buttocks.

Adjustments

1. Lift legs at a 90-degree angle.

2. Lengthen the torso upright and keep it perpendicular to the floor.

3. Legs fully extended and toes released.

Variations

1. Parsva halasana (left and right).

2. Interlacing the fingers behind the back and straighten the arms.

https://www.youtube.com/watch?v=amjTU6xq_JA


Benefits

1. Very effective in relieving constipation and dyspepsia.

2. The movement of the diaphragm during the practice of halasana massages all the internal organs, it activates the digestion system and improves liver and kidneys function.

3. It strengthens the abdominal muscles, relieves spasm in the back muscles, tones the spinal nerves and increases the blood circulation to the whole area.

4. It regulates the activity of thyroid gland, which balance the body’s metabolic rate. It also improves the immune system.

Contraindications

1. This asana should not be practiced by those who suffer from hernia.

2. Slipped disc, and sciatica.

3. High blood pressure and

4. Any other serious back problem and neck injuries.

20Sep

Shalabhasana (locust pose)

Shalabhasana name comes from the Sanskrit, “Shalabha ” meaning “Locust”,and “Asana”, meaning “Posture”.

Shalabhasana Steps with breathing

1. Begin with the prone position lying on the mat on stomach, rest the forehead on the ground and place the hands on the ground below the inner thighs.

2. Now slowly place the chin on the floor and using the strength of your hands and back muscles, raise the left leg as high as possible reaching the toes away from the hip sockets, keeping the other leg straight relaxed and in contact with the floor. Maintain the pose from 30 seconds to a minute.

3. With exhalation, bring the left leg down and repeat the same with the right leg.

4. Release your hands and neck and relax in makarasana.

Adjustments of Shalabhasana

1. Chin on the ground.

2. Palms facing downwards toes should be in contact with the floor.

3. Keep both the legs straight with the toes pointing outwards throughout the practice.

Variations of Shalabhasana

1. With the support of the right leg raise the left leg as high as possible and repeat on the other side.

2. Poorna (Full) salabhasana where both the legs are raised.

Benefits

1. Shalabhasana is an excellent asana for strengthening the back muscles and pelvic organs.

2. It tones and balances the functioning of the liver, stomach, bowel and other abdominal organs and stimulates the appetite.

Contraindications

1. Should not be practiced by the people with weak heart, high blood pressure.

2. Pregnant women and

3. Those who have undergone any recent abdominal surgeries.

20Sep

Mandukasana(frog pose)

Mandukasana name comes from the Sanskrit, “Manduka ” meaning “Frog”,and “Asana”, meaning “Posture

Steps with breathing

1. Begin with vajrasana, take one elbow and palm distance from the knees and come on all fours.

2. From here widen the knees within the comfortable limit with heels facing each other.

3. Slowly while exhaling come on the elbows and gaze in front, make sure the spine is lengthened throughout the asana.

4. Maintain the pose from 30 seconds to a minute.

5. Now slowly straighten the arms one by one, tuck the toes, bring the knees together and relax in child’s pose.

Adjustments

1. Widen the knees than the hips with heels facing each other.

2. Spine is lengthened throughout with core engaged.

Variations

1. Rest the chin in between the palms and maintain the pose.

2. While walking the hands forward, lengthen the spine and rest the chin on the floor.

Benefits

1. It improves the flexibility of the hips and inner thighs.

2. Strengthens the back muscles.

3. Stimulates the digestive system and helps to reduce abdominal cramps.

Contraindications

1. People who are suffering from peptic or duodenal ulcer.

2. Severe back pain.

3. Ankle and knee injury.

4. Cardiac pain and undergone any surgery recently should avoid this posture.

19Sep

Bhujangasana(cobra pose)

The bhujangasana name comes from the Sanskrit, “Bhujanga ” meaning “Cobra”,and “Asana”, meaning “Posture”.

Steps with breathing

1. Begin in prone position lie on your stomach with your toes flat on the floor and forehead resting on the ground.

2. Slowly bring the chin on the mat, keep the palms beside the shoulder level facing forward and draw your elbows towards the side of the body.

3. With inhalation push down through the palms and lift the chest slowly up towards the ceiling and maintain the final pose from 30 seconds to one minute.

4. While exhaling slowly bring the chest down and relax in makarasana.

Adjustments

1. Feet flat on the floor.

2. Palms right beside the shoulder level and while lifting the chest up, keep the navel on the floor.

3. Shoulders away from the ears and broaden the collar bones.

4. Press the pubic bone.

5. Neck should be neutral.

Variations

1. Baby cobra (resting on the elbows).

2. Lift the arms off the floor.

https://www.youtube.com/watch?v=h2lj2z8gg0w

Benefits

1. Brings rich blood supply to the spine, hence, keeps the spine supple and healthy.

2. Beneficial for all the abdominal organs, especially the liver and the kidneys.

3. It alleviates constipation.

4. It tones the ovaries and uterus and helps in menstrual and other gynecological disorders.

Contraindications

1. People suffering from peptic ulcer, intestinal tuberculosis, or hernia and people who recently underwent abdominal surgeries should avoid this asana.

2. Pregnant women should also avoid this asana.


19Sep

Chaturanga Dandasana (Four limbed staff pose)

The Chaturanga Dandasana name comes from the Sanskrit, “Chat ” meaning “four”, “Anga ” meaning “Limbs”,“Danda ” meaning “Staff”and “Asana”, meaning “Posture”.

Steps with breathing

1. Start with dandasana and slowly come in with vajrasana (heels beneath the hips) and walk your hands all the way forward until torso is parallel to the floor (also called table top position).

2. Now tuck the toes, bring the upper torso down and lift the knees off the floor.

3. In the final posture 4 limbs of the body should be in contact with the floor i.e. feet and palms. Maintain the final pose from 30 seconds to one minute.

4. Slowly bring the knees down, lift the upper torso up, release the toes and rest in shishu asana.

Adjustments

1. The feet should be placed approximately hip width apart.

2. Neither the shoulders nor the lower back should sink down.

3. Avoid lifting of the hips up.

4. Should maintain the 90degree angle between the shoulder and the elbow.

5. Core should be engaged.

Variations

1. Utthita chaturanga dandasana (extending the elbows).

https://www.youtube.com/watch?v=pqLnAQ58YLk

Benefits

1. The pose strengthens the arms and the wrists and develop mobility and power.

2. It also contracts and tones the abdominal organs.

3. It tones and strengthened the spinal muscles.

Contraindications

1. People suffering from carpel tunnel syndrome and shoulder dislocation should avoid this asana.

2. Avoid it during menstruation cylcle.

* * Special Offer for Early Bookings! * *

Book your Aerial Yoga TTC now and save €100 on your total fee.