Swami Satyananda Saraswati developed a scientific approach to yoga, categorizing physical position practices along side their corresponding advantages and contra-indications. He created the pawanmuktasana series of asanas as a preparatory for all major postures. He categorized the complete range of pranayama or respiration techniques in to three parts – Equalizing, Vitalizing, and Balancing – scientifically description the strategy and technique of every pranayama in progressive stages. He revived the classical raja yoga technique of pratyahara anantarmouna to affect the activities of the facets of the mind. Different well-liked meditation techniques that he tutored embody the mantra repetition observe of ajapajapa and also the concentration practice of Trataka. He additionally developed Yoga Nidra, which is from the traditional Tantric system of Nyasa as a scientific methodology for inducement of complete physical, mental and emotional relaxation.
The technique of Bihar school includes eight stages:
- Preparation/Internalization
- Relaxation
- Sankalpa/Resolution
- Rotation of consciousness
- Breath awareness
- Manifestation of opposites/ Rapid Visualization
- Repeating Sankalpa/Resolution
- Externalization.
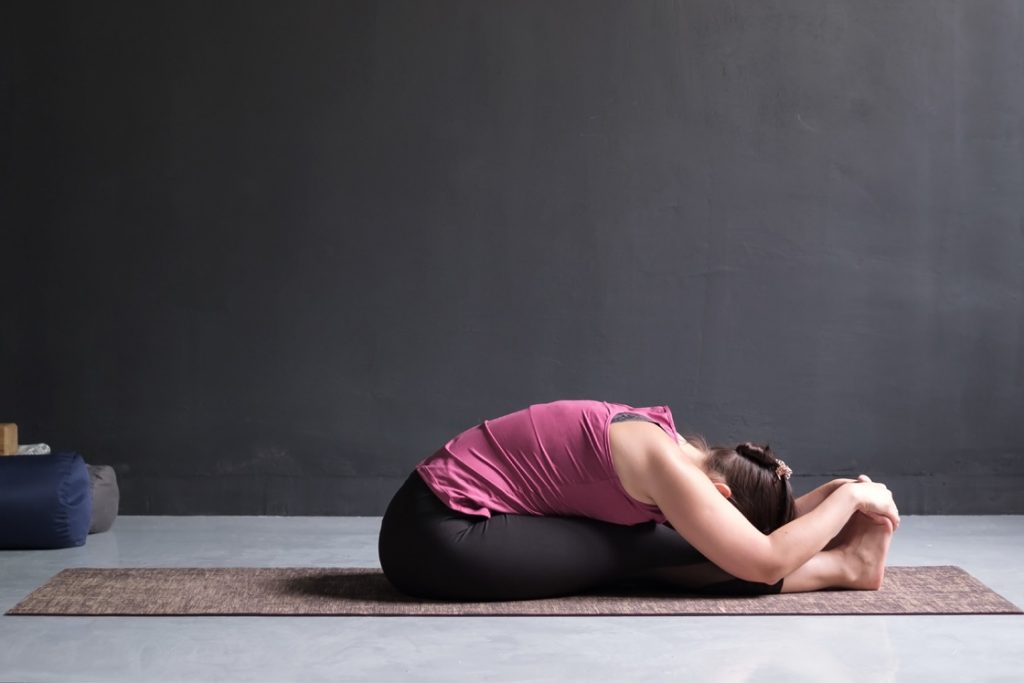
Yoga Nidra It is a state of mind between wakefulness and sleep, which we enable practitioners to go on to the deep sleep without losing their consciousness.
In Yoga Nidra most effective means of practice is found in Sankalpa, which means resolution or positive affirmation. As our subconscious mind is obedient disciple it receives what we guided and in Yoga Nidra, we get to access all states of mind and Sankalpa is one, which uses our subconscious mind.
The technique is often used for psychic, physiological rest and rejuvenation. Yoga Nidra is among the deepest states of relaxation whereas it still maintaining full consciousness. The regular observation of yoga relaxation has been found to scale back tension and anxiety. The involuntary symptoms of high anxiety-like headache, giddiness, chest pain, palpitations, and sweating, and abdominal pain respond well.
When individuals head to sleep, they are doing not unburden all, they carry their frustration, miseries, sorrows, conflicts, turmoil’s with them, that leaves tension in body and mind. Mental tensions are the results of excessive mental activity; a mind is sort of a whirlpool, which can bind us in. At that moment our Buddhi (intellectual mind) is working, however, once you relax your intellect and permit the subconscious and unconscious levels of the mind to open, we have a tendency to stop troubleshooting. It’s for this reason that we have a tendency to set the Sankalpa (resolution).
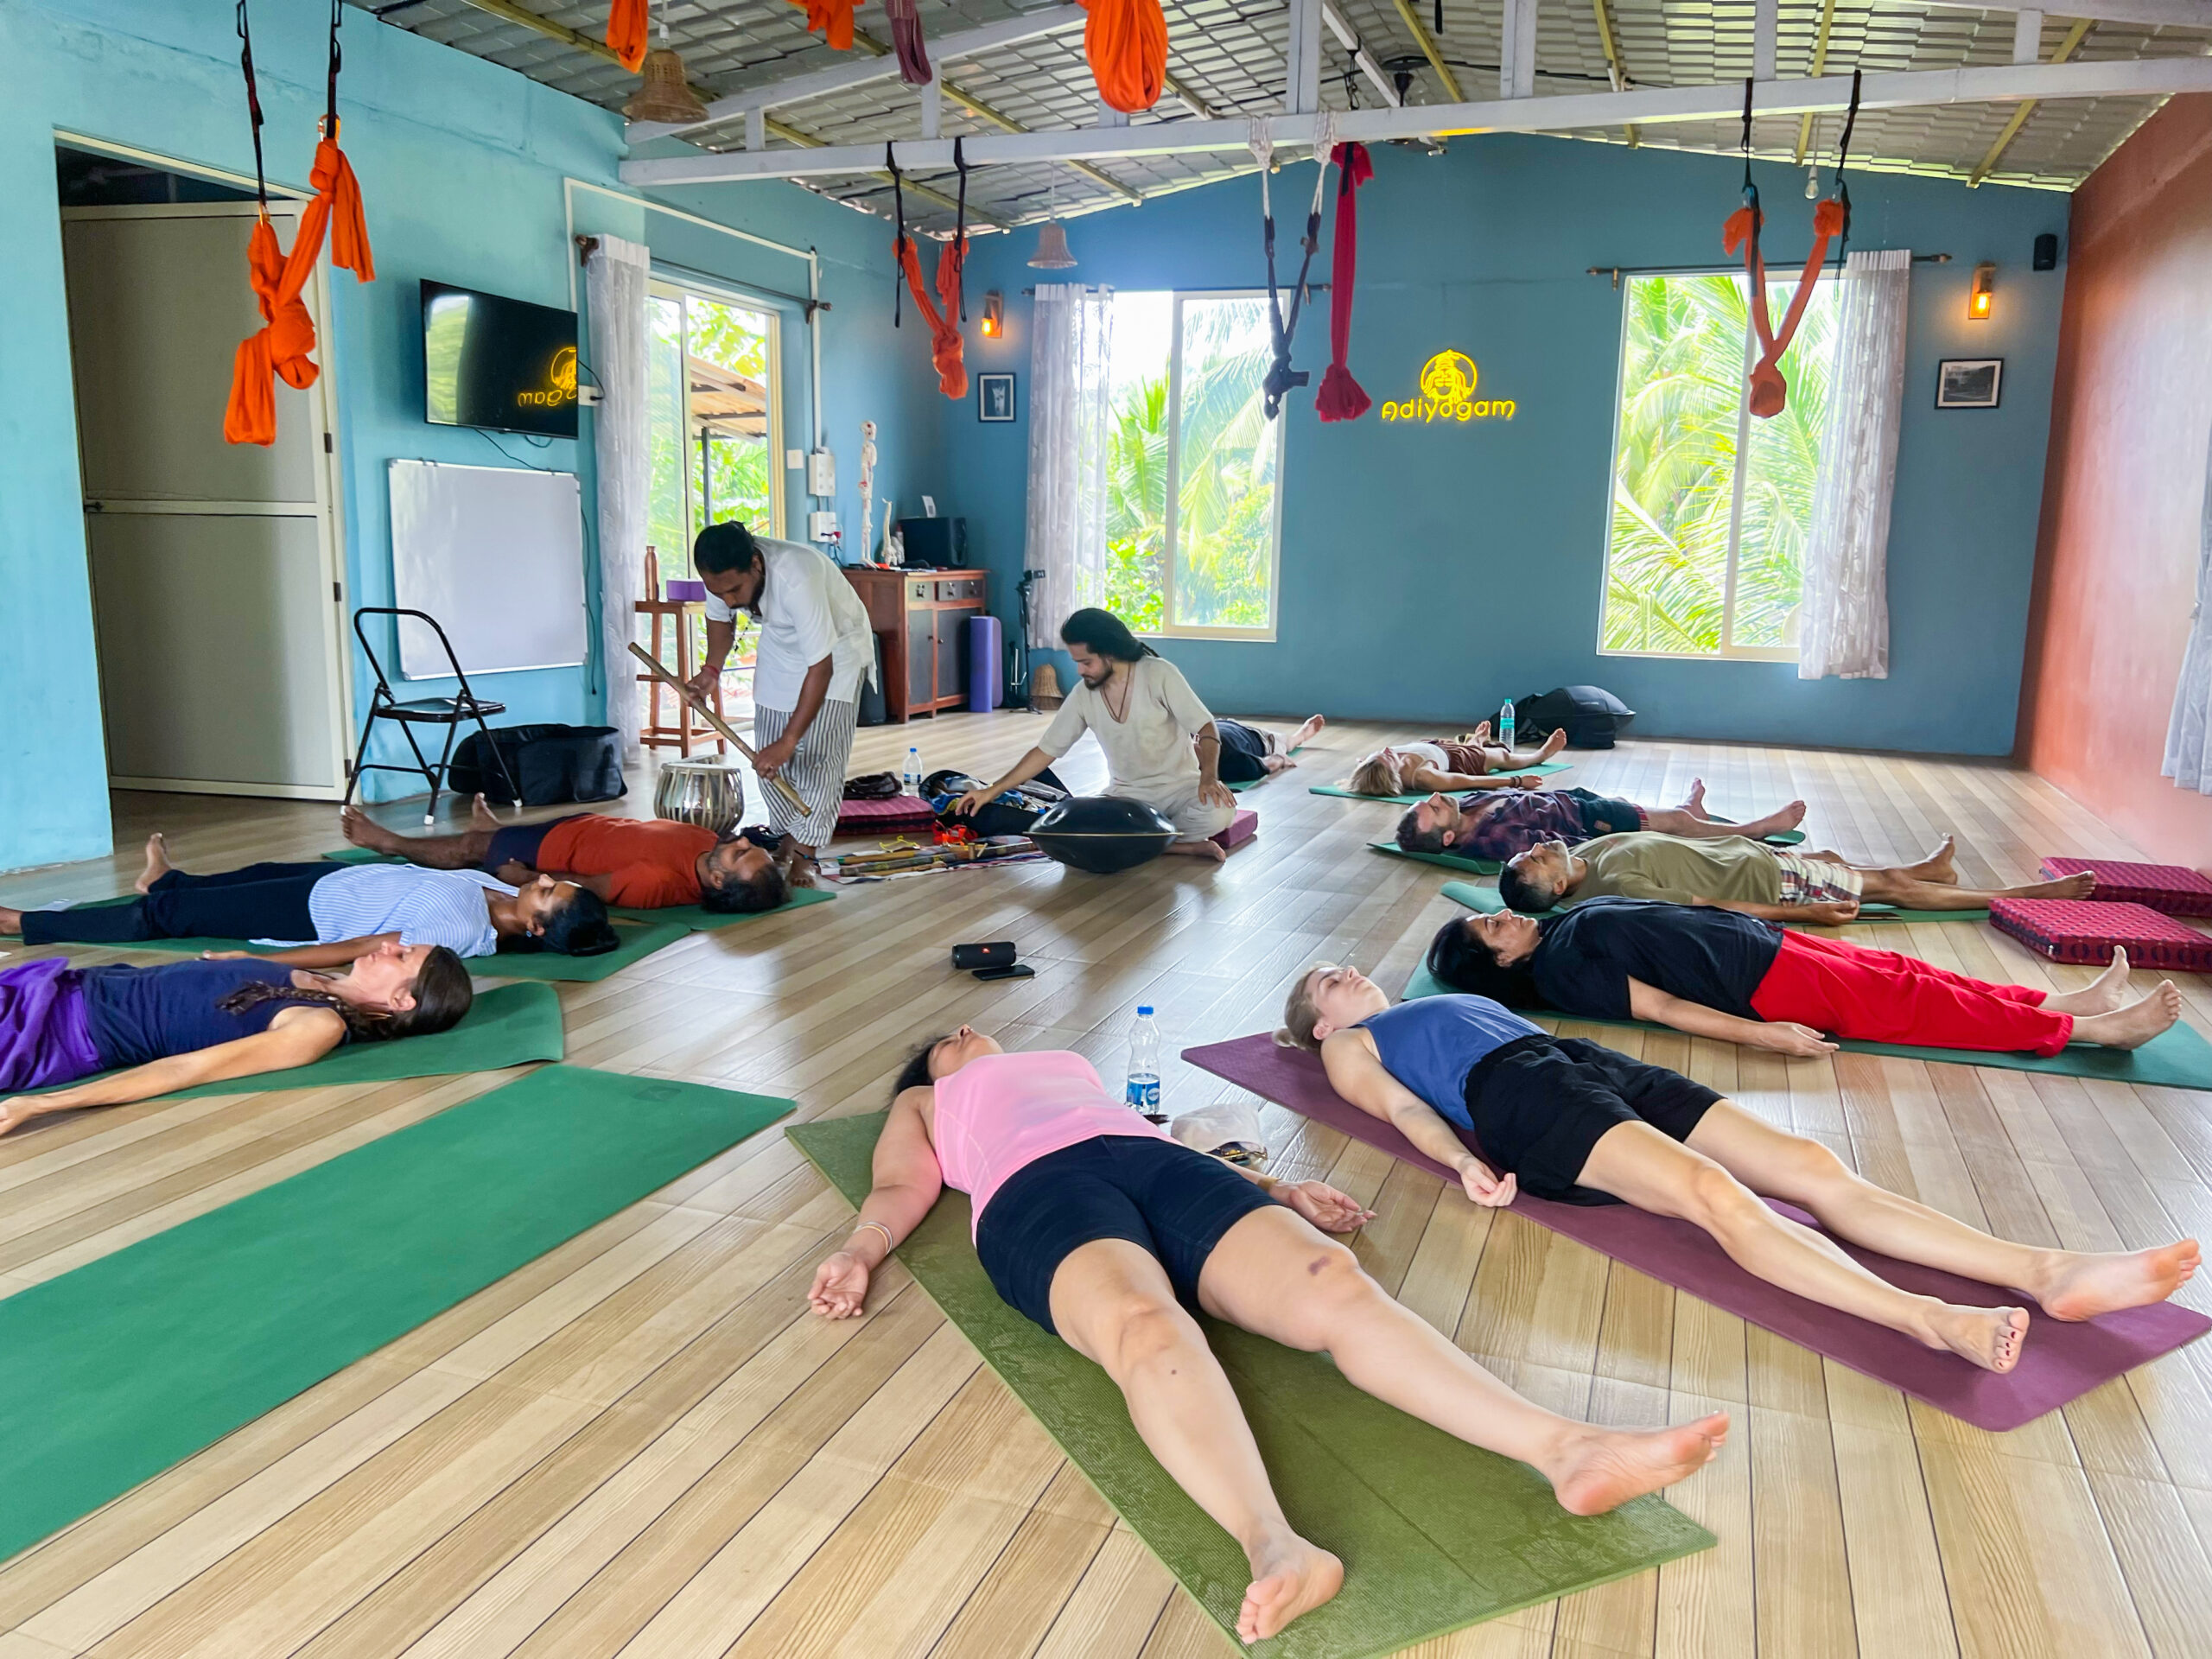
Yoga Nidra is often practiced at your own place by listening recorded verbal directions or is often practiced underneath associate knowledgeable.
Every step has its unique and defined set of instructions to follow and more importantly through using these basic rules anyone can create their unique Yoga Nidra session.
When it comes to preparations it consists of muscle relaxation, awareness of sound, space and touch and affirmations, etc.
In Sankalpa, a positive intention which is brief, clear, and concise and should make it with faith and conviction. When it comes to rotation of awareness it should be systematic and momentum and in awareness or breath, can count the breaths or awareness of mantra and emotions along with breath can also be done. While finishing it with externalization, which is basically, means to bring an aspirant back to the original conscious waking state.
Yoga Nidra should be practiced after asana or pranayama or after some physical stretch. It can be practiced for 3/4 times a week to get best results. Starting with simple technique that is to start from 4 stages and followed by complex would be recommended for the aspirants.
In Yoga Nidra can be practiced at home, choose a room which is quite, comfortable temperature and free from insects. Privacy is essential and sudden interruption should be avoided. And it should be practiced in semi dark not in tots dark and total bright. During Yoga Nidra most important thing is not to concentrate fully and not fall in to slumber.
This description is simply an introduction to the technique cyclic meditation not the detailedtechnique. One ought to practice C.M. under professional teacher.